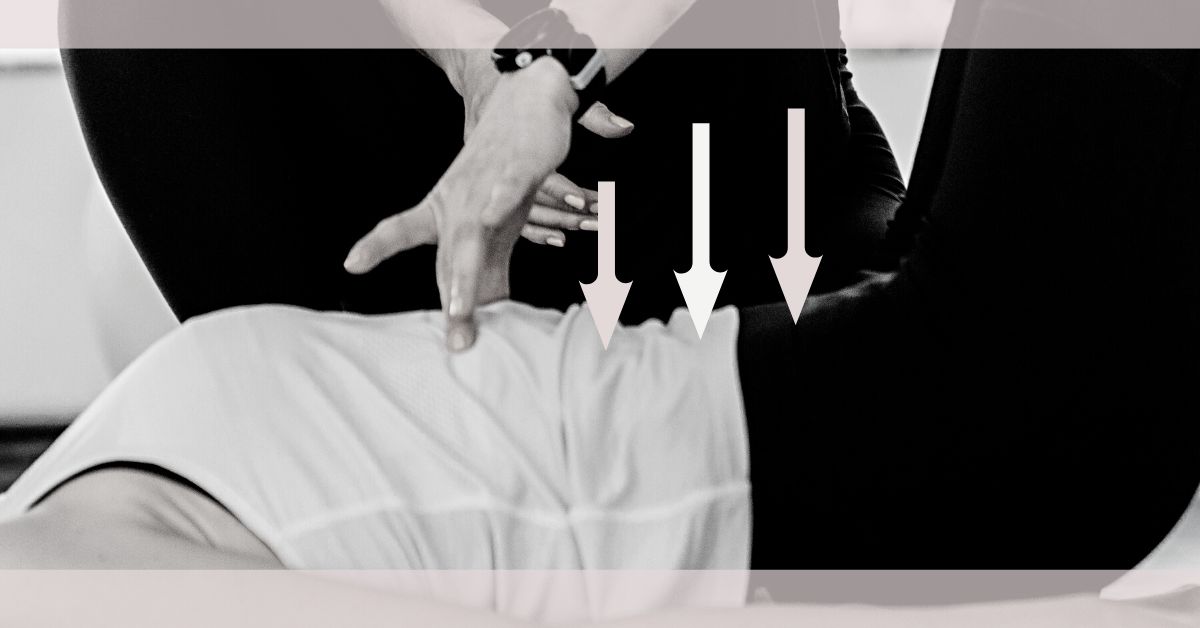
Exercise for Recti Diastasis
Exercise for recti diastasis (ab separation) that is beneficial for all of us- lifelong.

Today: 2 Exercises to Strengthen Your Core and Improve Rectis Diastasis
- We’ll first Identify 3 Key Muscles.
- Learn about the Breathing technique that is KEY to your success.
- Walk through: step-by-step Exercises 1 and 2, positioning.
- Next, we add the Movement of each exercise and What to pay attention to.
- I also laid out the 60-day plan I’d follow.
- The are links to a variety of videos and posts that are supportive.
Men, Women, and Now Even Children Experience AB Separations
All of us should consider using today’s two simple (not easy) foundational AB exercises.
Both are key to our posture and spine stability, which is why you will see them in multiple exercise sequences I’ve developed and used over the past 4 decades.
Taking time to master them will pay off!
This is Part 2 of the AB Series.
Part 1 is:
Post 1 shares:
- How to check for AB separation(s).
- Common Types of AB Separations.
Recti Diastasis: Ab Separation.
The muscular separation of the left and right sides of the stomach muscles. It’s common and can go unnoticed for years.
Doing an ab check is a great place to start.

Today- 2 Exercises for Recti-Diastasis
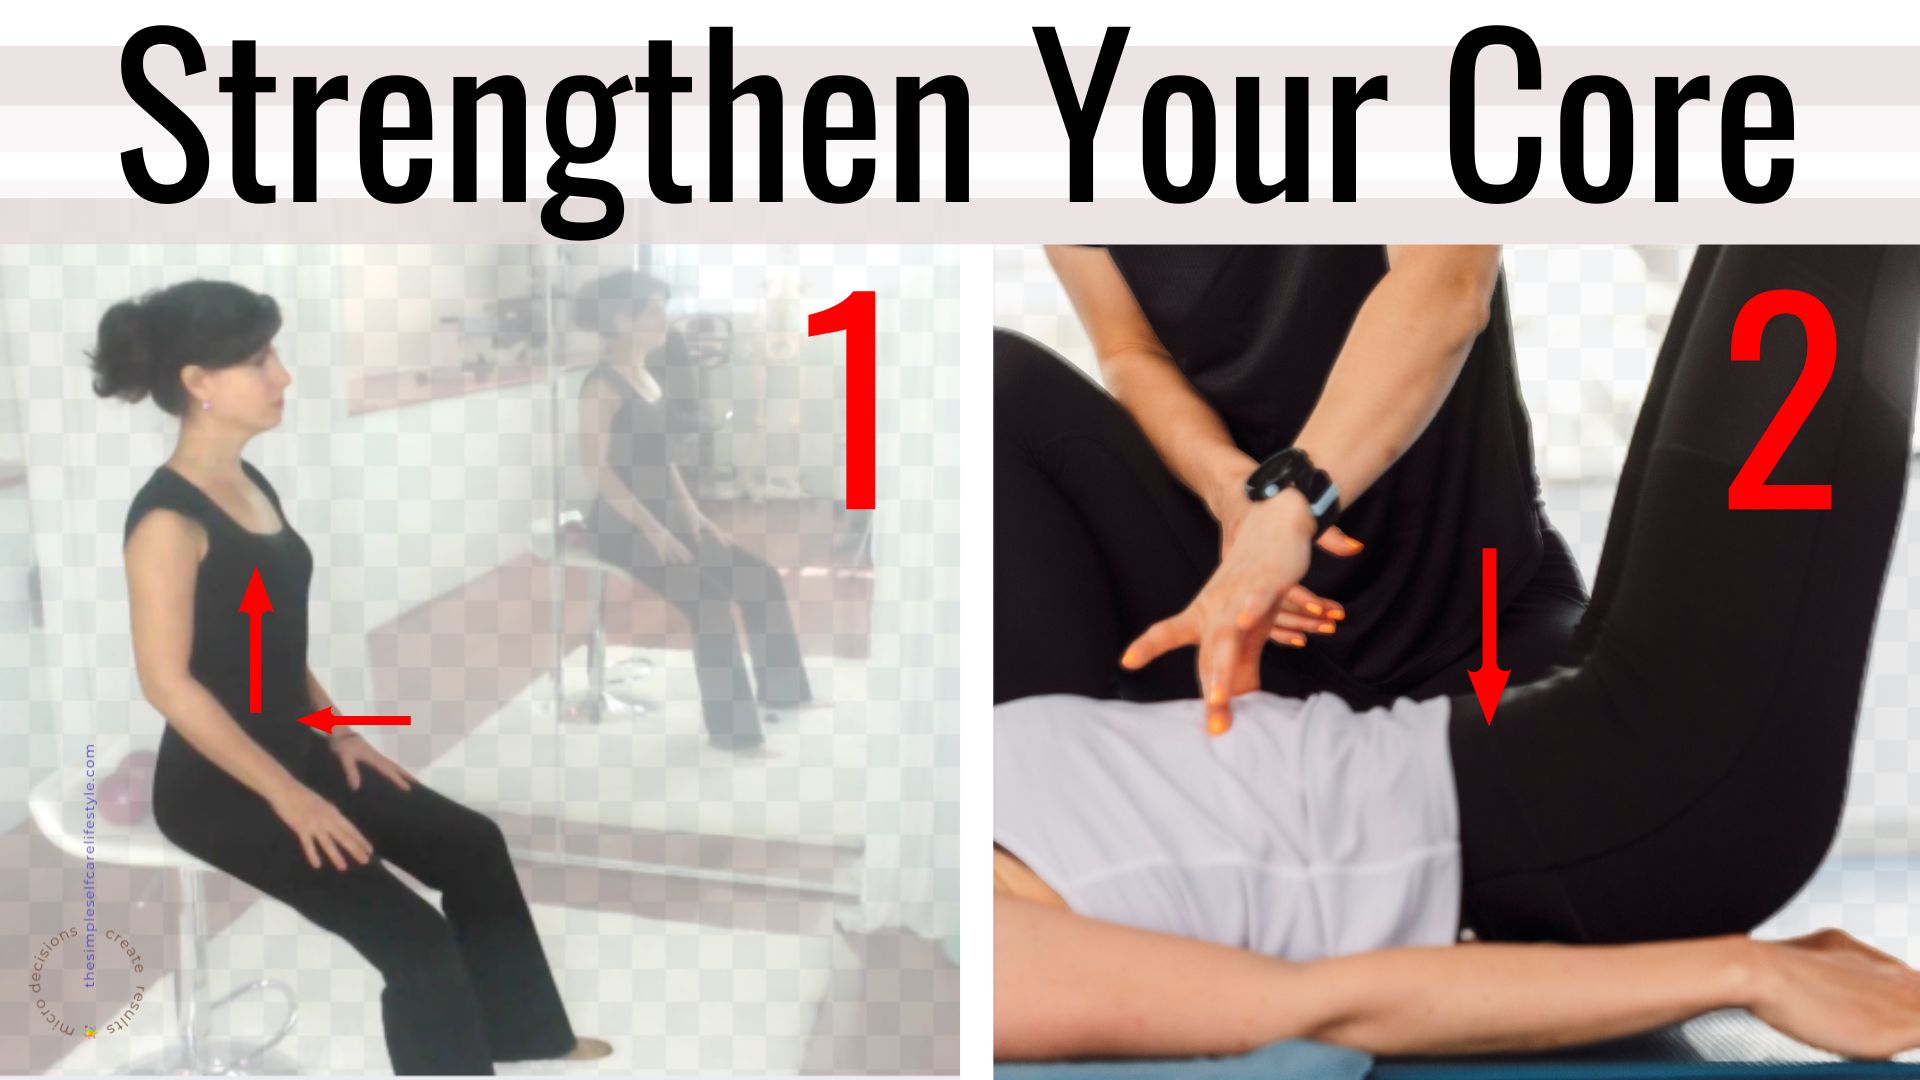
Both Exercises Work in Unison to Strengthen Your Core’s Torso Triad
The 2 Exercises strengthen your core because, over time, they re-establish the stability of the abdominal wall that the ab separation(s) diminished.
Our abdominal wall is 1/3 of our core stability. The proper closing of an ab separation, therefore, provides tremendous payoff for our entire body (Core Concept 1). Our body systems depend on each other.
Closing and Strengthening the ABs = Strengthening of the Torso Triad of Muscles.
The Torso Triad of Abdominal Strength:
These three muscle groups
- Diaphragm
- Pelvic Floor
- Rectus abdominis
make up the Torso Triad.
Torso Triad
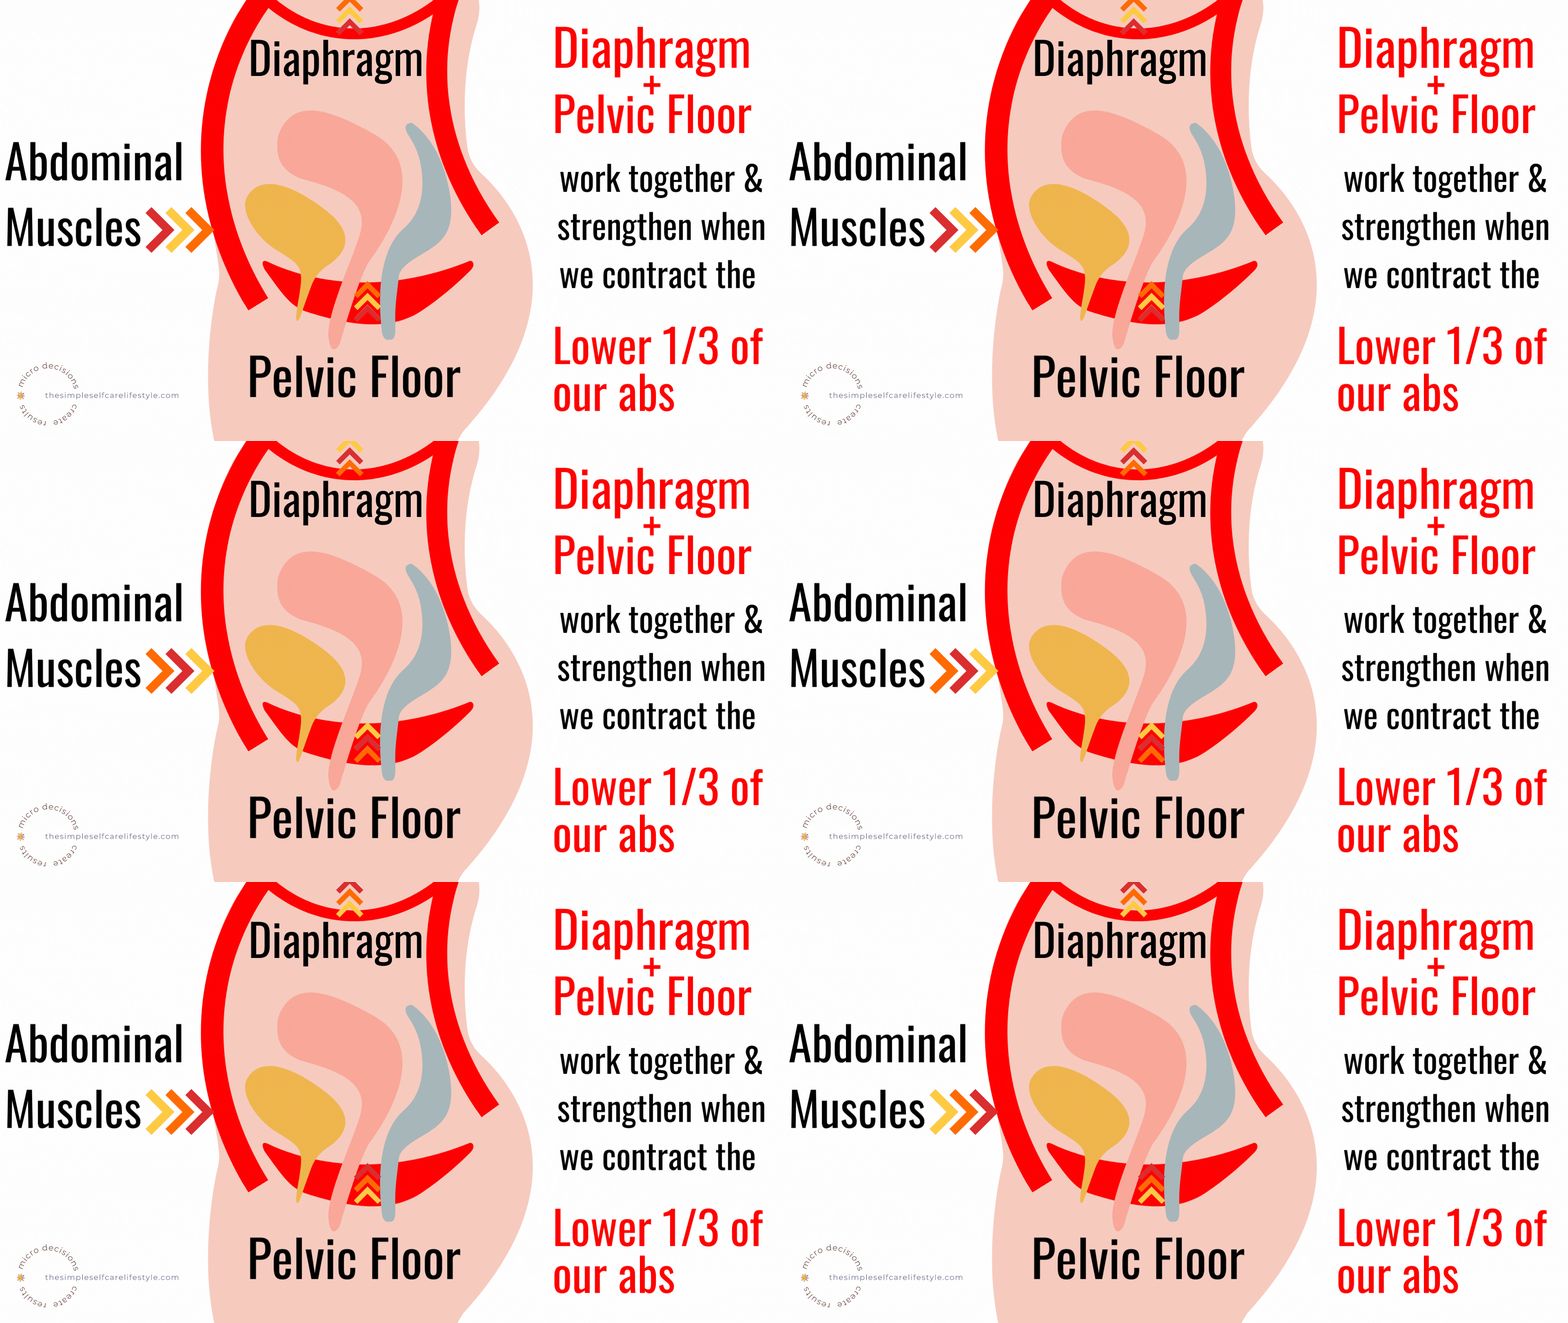
These 3 groups are dependent on each other. Exercise 1 and 2 uses all 3 muscle groups.
The muscle groups are intended to work WITH each other.
When imbalanced, they work AGAINST each other.
Exercises 1 and 2 help that.
Exercise Instruction begins at 01:11.
[This video is also located at the mid-way point and end of this post for you.]
Leveraging the Way The Body is Set Up to Work
Leverage the way the body works makes every repetition of the 2 Exercises effective, adding up to the results you are looking for, with exponential benefits.
Exponential Benefits

Exercise for recti diastasis offers a multitude of benefits.
As Ab Separation improves, so does:–
- Posture,
- Circulation,
- Lymph,
- Pelvic floor function
- Spine stability which benefits our:
- Knees
- Hips
- Neck
- Upper & Lower Back….
Once an ab separation is resolved, the same 2 exercises are preventative.
Exercise. Identifying Key Muscles. Positioning. Breathing & Action:
Both exercises are broken into:
- Identifying the Muscle Key to Results.
- Positioning (It is as important as the action)
- Breathing during the exercise (Improves or impedes your progress)
- Action (biomechanics of the exercise)
For Even More Guidance
For more detailed guidance on the two exercises, there are:
- Additional Posts: Start with the AB Check
- Educational/Instructional videos and
- Exercise Routine Videos
readily available for you on this website and Youtube.
Youtube’s Simplify Self Care with mo channel has a Playlist with AB Instructional & Routine videos relevant to this post.
You can access the videos on the video topics page too.
Video Topics Page
Videos are linked for you by category.
Videos on the Topics Page are:
organized into ‘Topics’
all Topic videos are on a single Topic page
arranged in order.
This way, you have EASY access to revisit videos without having to re-find a post
Exercise 1 Proper Activation of the Core Muscles that Stabilize Your Spine
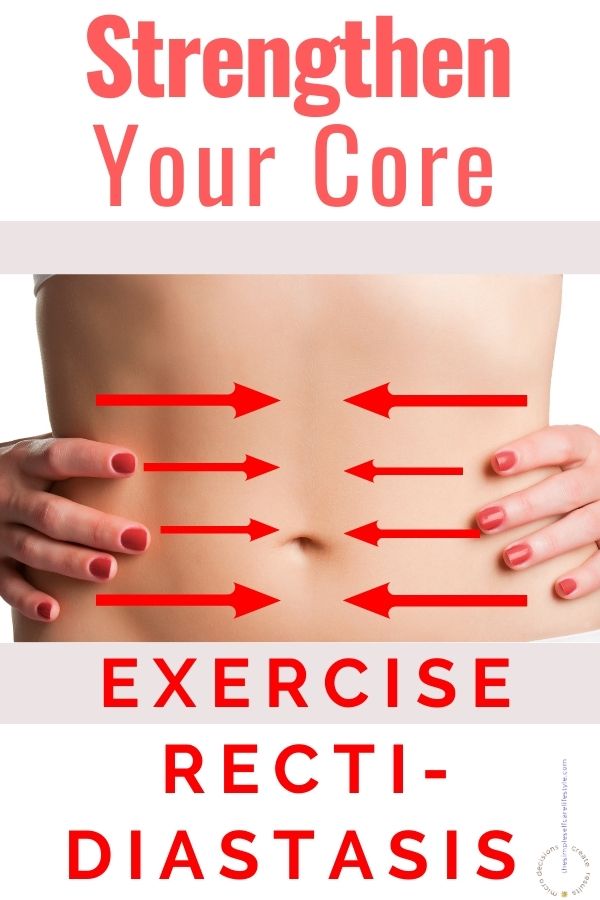
Exercise 1 Identifying the Muscles to Get Results
Proper activation of your core muscles — must include the number one spine stabilizing muscle, the diaphragm, in order to be effective.
Exercise 1 Muscle 1: Diaphragm
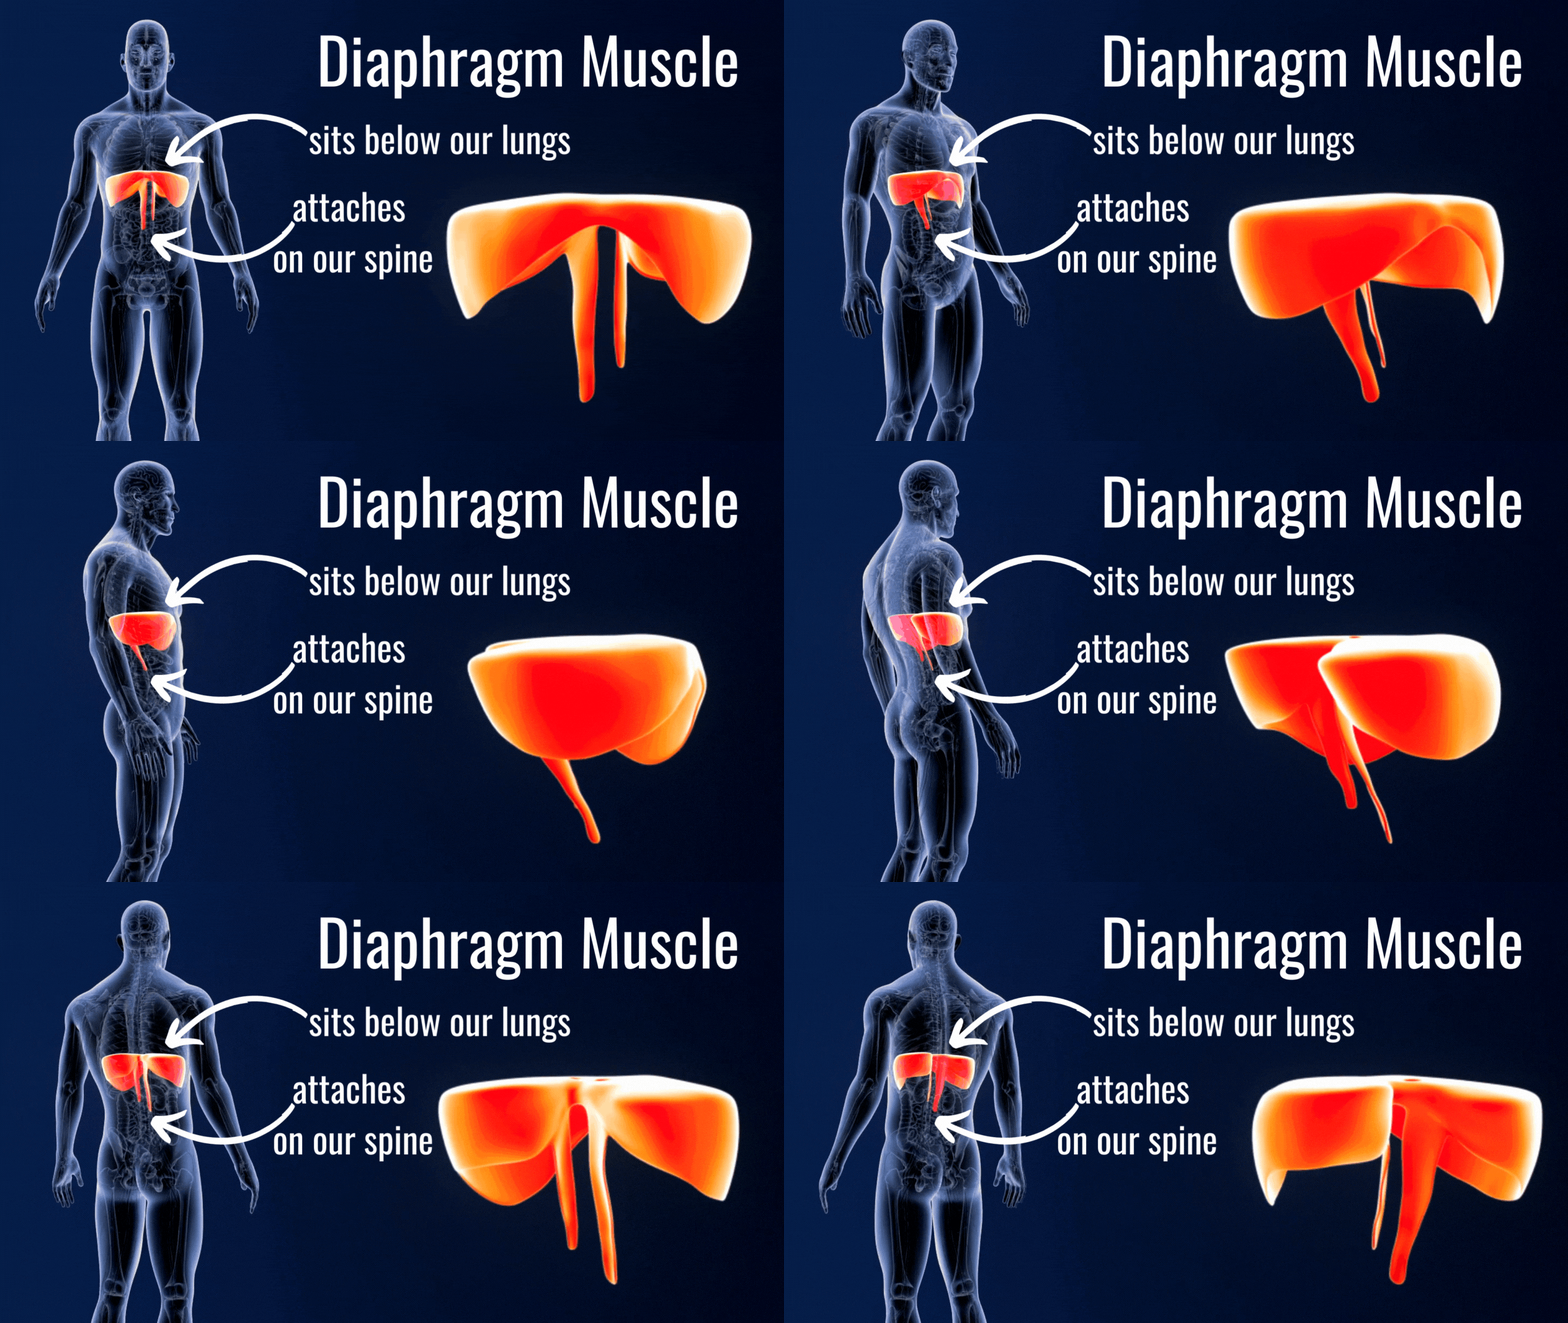
The Diaphragm will strengthen when we are in the proper position and using the E for E breathing during Exercises 1 and 2.
Here is a visual of how the diaphragm will become engaged and strengthened. The diaphragm will move upward when you contract the lower 1/3 of your abs.
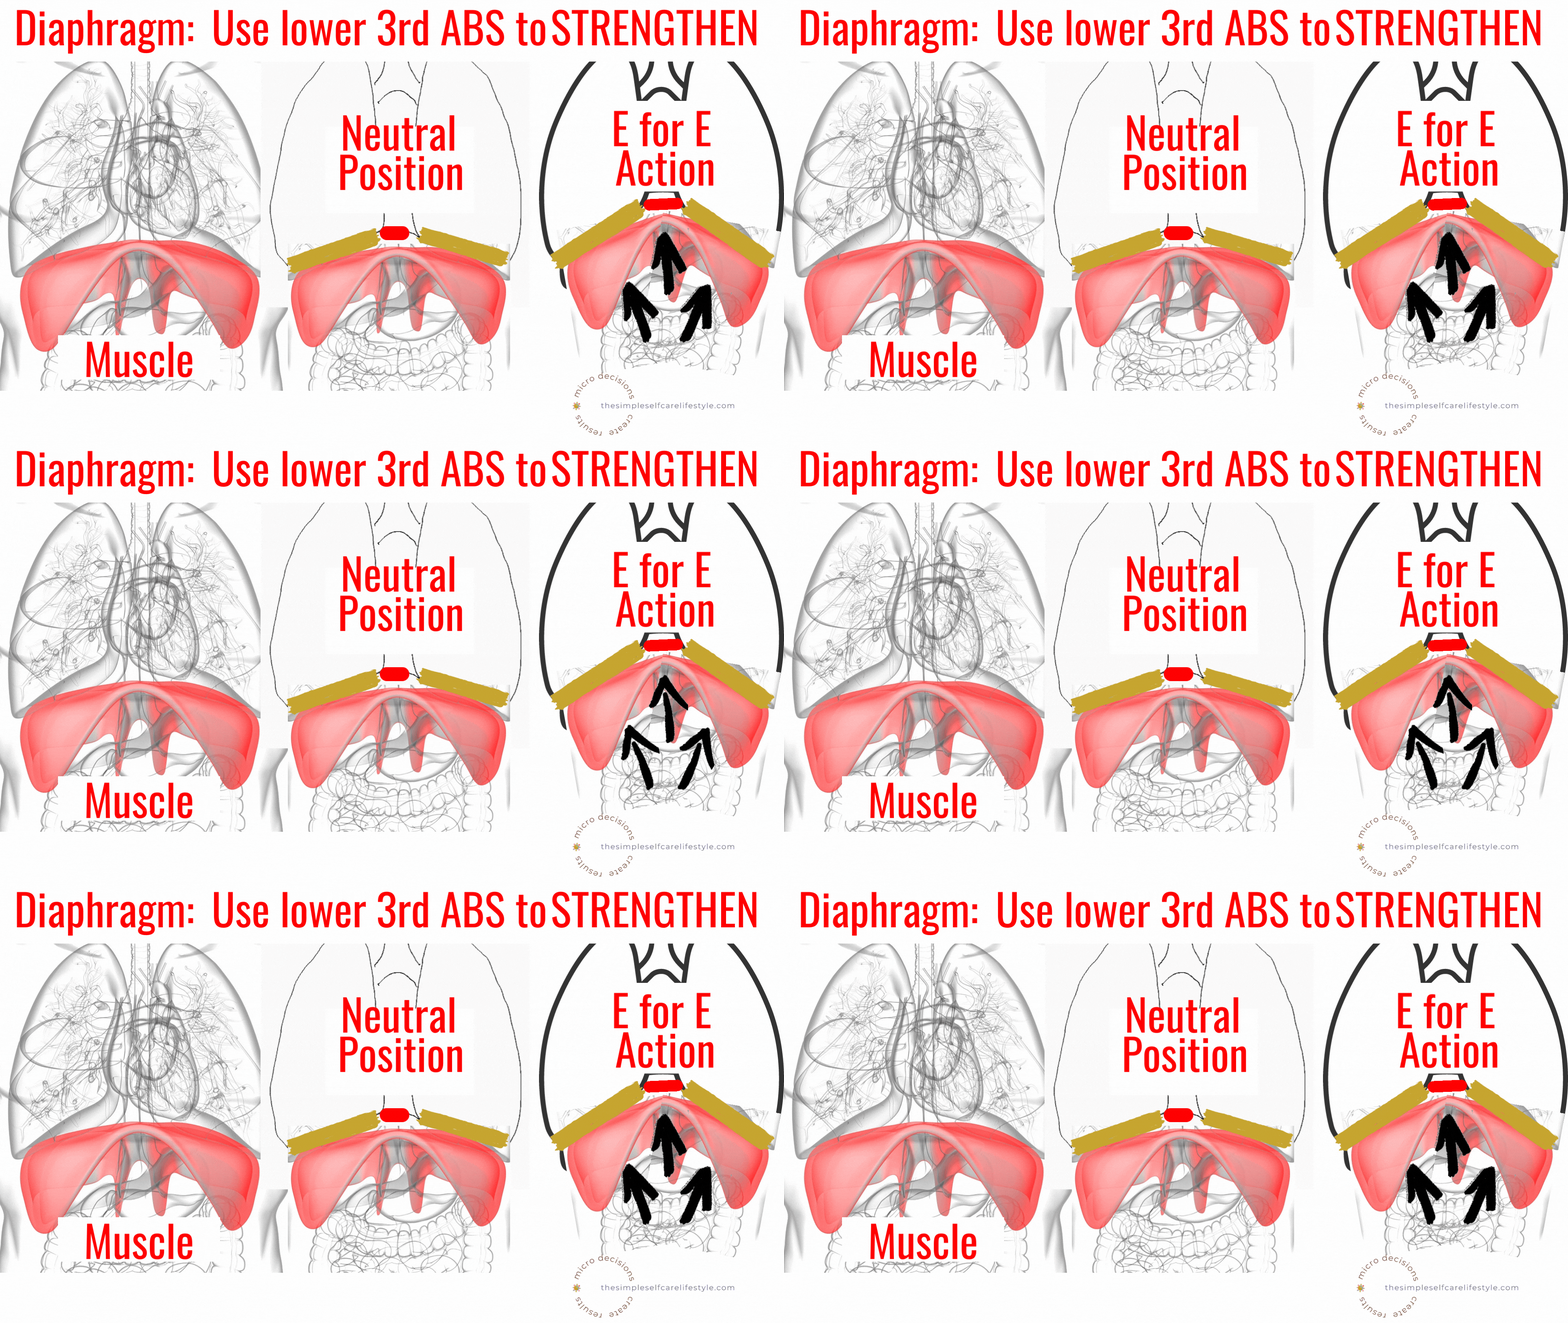
The Key to strengthening the diaphragm is the Exhale part of the E for E breathing (we will cover this next). As you contract the lower third of your abs, your air will move upward.
Exercise 1 positioning & breathing will strengthen the diaphragm.
As you master the breathing technique, the diaphragm will continue to strengthen.
A strengthened diaphragm is key when it comes to closing an ab separation because the diaphragm is the NUMBER 1 spine-stabilizing muscle.
A strong diaphragm creates a strong pelvic floor. The pelvic floor happens to be Muscle 2 of Exercise 1.
Exercise 1 Muscle 2: Pelvic Floor
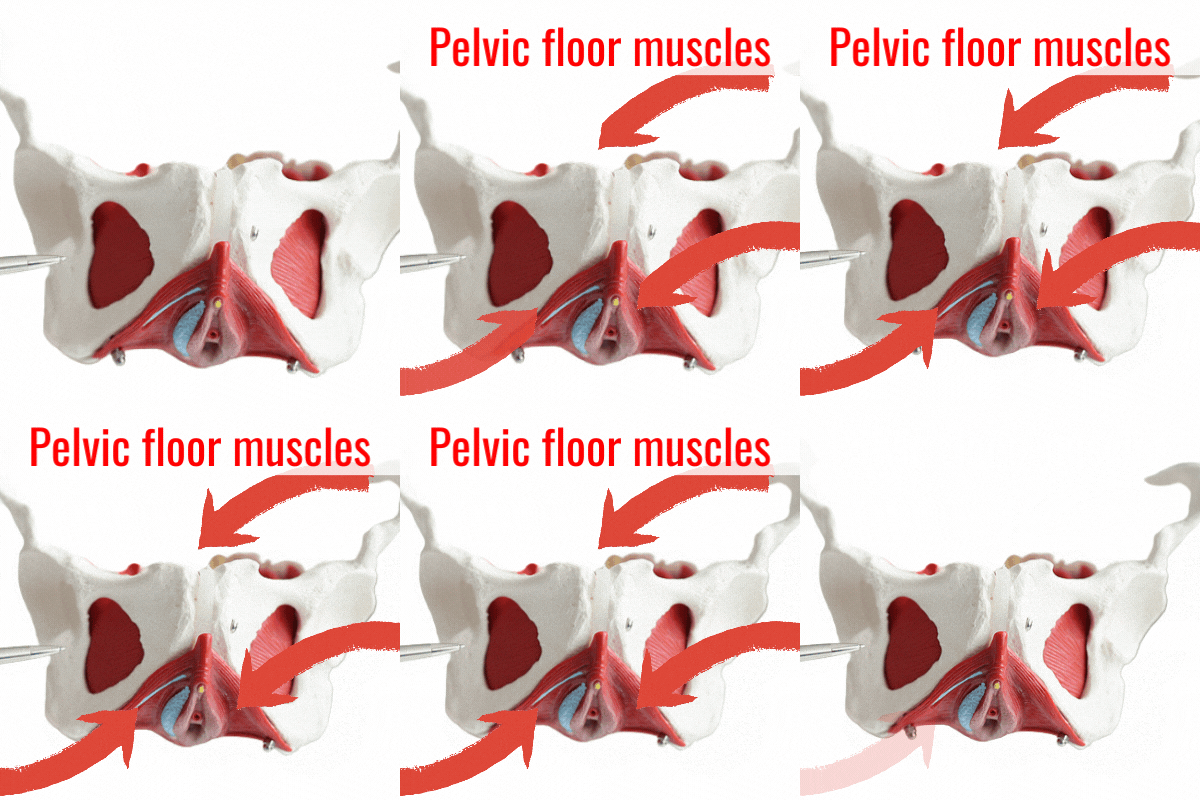
Pelvic Floor. Muscle 2 of Triad Strengthens
Pelvic floor muscles will strengthen when we are in the proper position and use the E for E breathing.
How the Diaphragm & Pelvic Floor Improve an AB Separation
When trained, the diaphragm and pelvic floor work in sync to provide the top and bottom support of the abdominal cavity.
This helps to make all ab work you do more effective.
It is also why E for E is able to improve Incontinence, ED, and pelvic floor prolapses…

Best Pelvic Floor Exercise…
Kegels will not work without training this muscle first. There is NO better exercise than this one to train your pelvic floor. I share why and the exact exercise to do. Step-by-step!
Feel better, Look Better, LIVE better…The Simple Self Care Lifestyle
Post: Incontinence urge, ED, Back Pain, Improve Using E for E.
E for E works! Step by step, how to locate the muscles you’ll train and the progressive routines that guide you.
Feel Better, Look Better, and Live Better than you ever imagined!
Think of it like a box (Lots more detail in E for E post.)

Muscle 3: Rectus Abdominis
Ex 1: Finding: Recti Abdominis
Technique to Identify the Lower 1/3 of Your ABS:
Exercise 1 is done sitting in a chair, but before we get positioned in the chair, let’s locate the lower 1/3 of the ab muscle.
The technique I’ve found the most useful in helping clients find the lower third of their abdomen is to imagine you’re trying to blow up a balloon.

This technique is often helpful in locating the lower 1/3rd of the abs because we typically use our lower abs to blow a balloon up.
If we attempt to blow a balloon up using the air from our lungs, we really won’t get far.
Try The Technique
To make sure Exercise 1 is effective, please take a moment to pretend you are blowing up a balloon.
Imagine that point where the air from your lungs has emptied, and you must dig deep to get the balloon blown up (you don’t want to lose the air you have in there) so you will notice you start pressing the lower 1/3 of your abs.
That’s it! You’ve found the muscle! That is the lower third of your abs.
That is the muscle we will use in the seated position over and over again.
If you didn’t quite find it yet, that’s fine too! It’ll come with practice. Some clients actually practiced on a balloon.
IMPORTANT: We will NOT be using this type of breathing!!! We are using this technique to locate the muscle. Specifically the lower 1/3rd of our abs.
Now, Let’s grab a stool or armless chair.
Position: Ex 1 is done in a chair.

Video Positioning instruction starts at min 01:11
Next-
Breathing: E for E (Exhale on Effort)
Starting with the Inhale:
Inhale through the nose. Slowly, deeply, filling your entire abdominal cavity. Then…

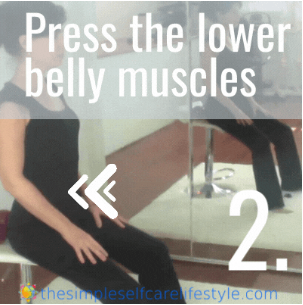
The Exhale.
Have your mouth slightly ajar.
Press the lower 1/3 of your abs, and you will recognize you are pressing the air up and out.
This is E for E breathing
It is amazingly effective, and over time, it will train your diaphragm and your pelvic floor (to work more effectively.
The E for E post goes into great detail. You can visit it to really get into mastering E for E breathing.
Post: Incontinence urge, ED, Back Pain, Improve Using E for E.
E for E works! Step by step, how to locate the muscles you’ll train and the progressive routines that guide you.
Feel Better, Look Better, and Live Better than you ever imagined!
E for E is essential for most Exercise.
Try using it for everyday activities too- like lifting something heavy, pushing a vacuum, or getting in and out of a chair….
It is amazingly protective and has a positive impact on our overall strength and well-being.
The E for E breathing used in Exercises 1 and 2 is Simple– but often not easy to get the hang of.
Practicing over time, it’ll become 2nd nature, and your ENTIRE body will benefit!
We’ve now practiced:
the balloon technique to identify the right muscles
positioned ourselves in an armless chair
and walked through the breathing technique
We are ready for Exercise 1: Action.
Exercise Recti diastasis Action
Sit tall, tall, tall.
Inhale through the nose, filling your entire abdominal cavity
Press the lower 1/3 of your abs, contracting them as much as you can while still maintaining a tall upright position.
You will feel a nice stretching in your back as your pelvis tips slightly forward.
Release, allowing the air to be inhaled again through your nose.
Repeat.
Ready to give it a go!?!
Video: 2 1/2 min Exercise Routine
Haven’t Gotten It Down Yet? No Problem!
To get more details and added guidance: The Post titled Fixing Neck Humps explains HOW training the Diaphragm increases your Abs and Pelvic Floor making all three stronger at the same time!
Exercise 2: Identifying the Muscles
The same muscles as Exercise 1. You’ll use the:
Diaphragm
Pelvic Floor
The Lower 1/3rd of abs.
Positioning:
On our back
Legs start bent with our feet flat on the floor
We will lift 1 leg at a time, placing our Prop between them.
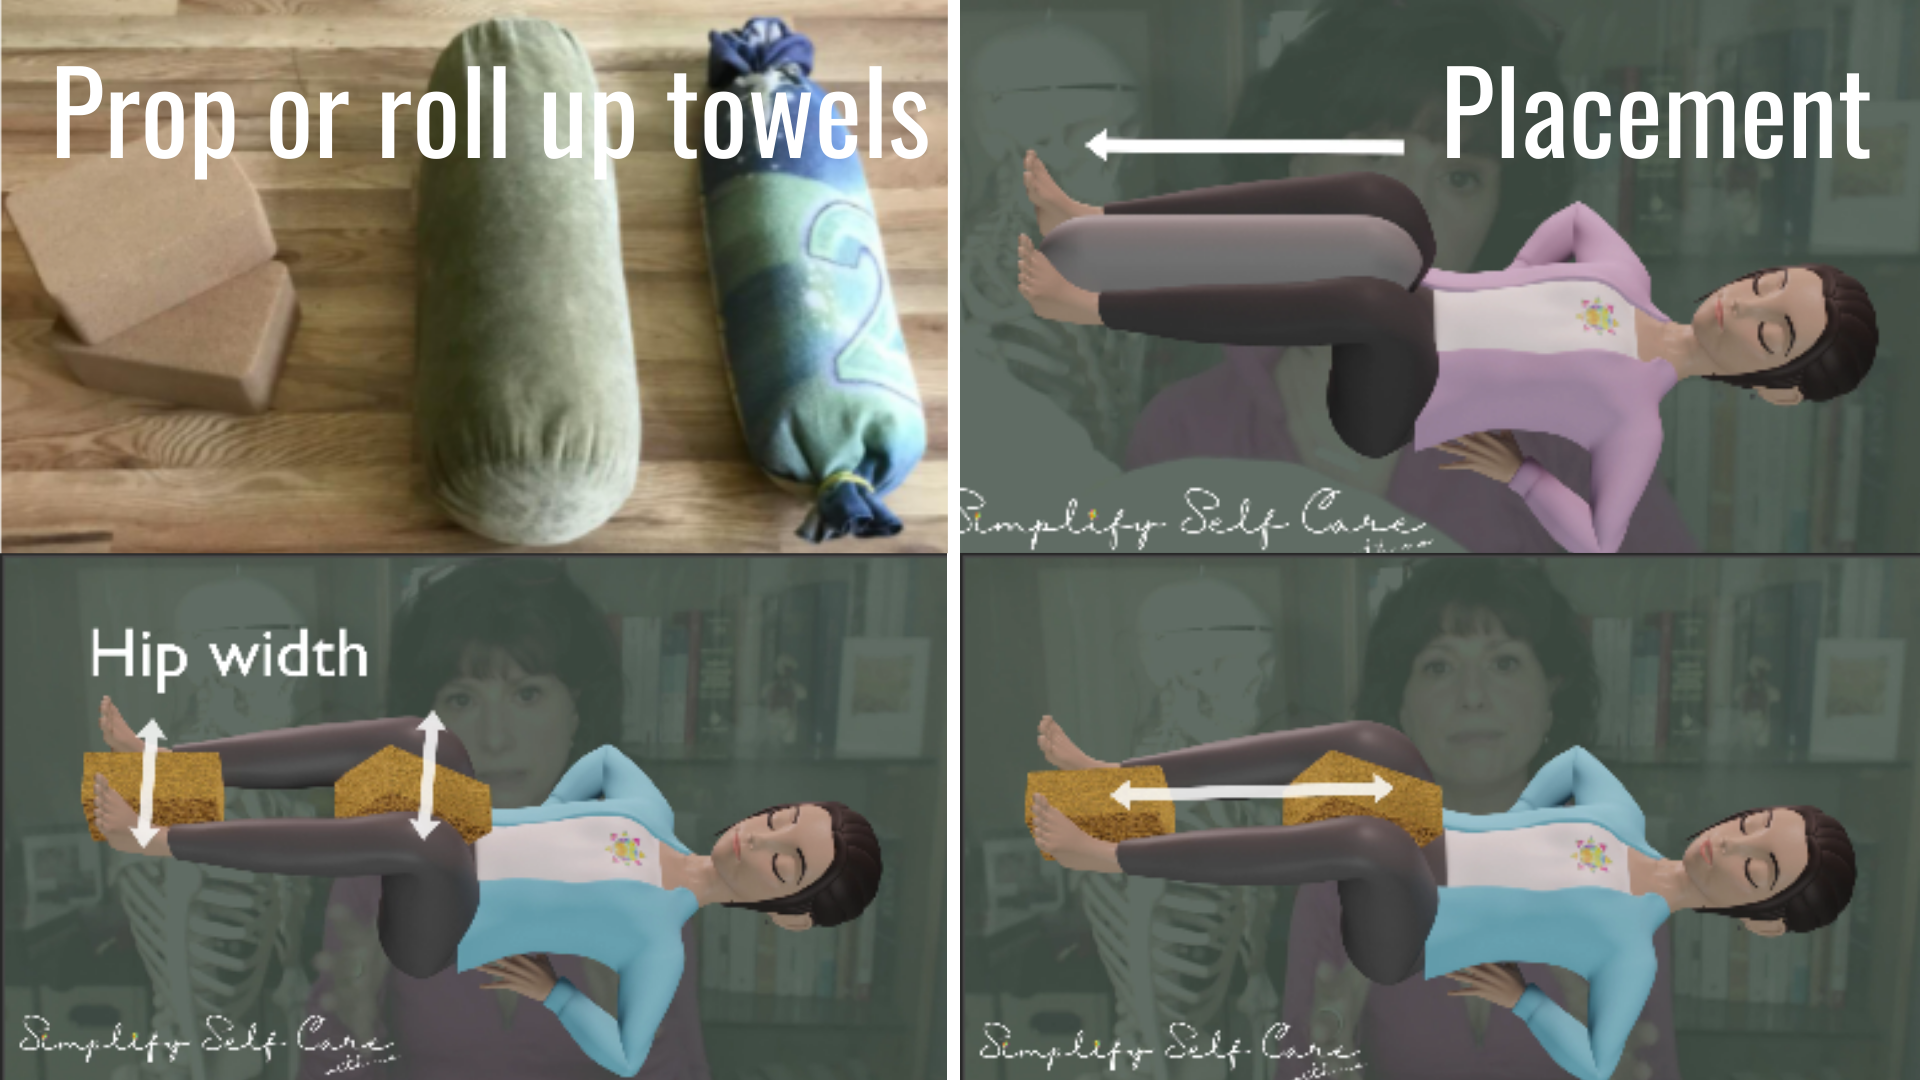
We will use a prop between our knees and ankles to help our right and left legs stay in sync. This protects us from working out one side more than the other when we have a separation.
Constantly check your back with your hands to be sure you find the spot where your legs can be bent, holding the prop, AND maintain your back 100% Flat on the floor.
This is imperative! There should be no space, zero, nada, not even a millimeter of space between your back and the floor.
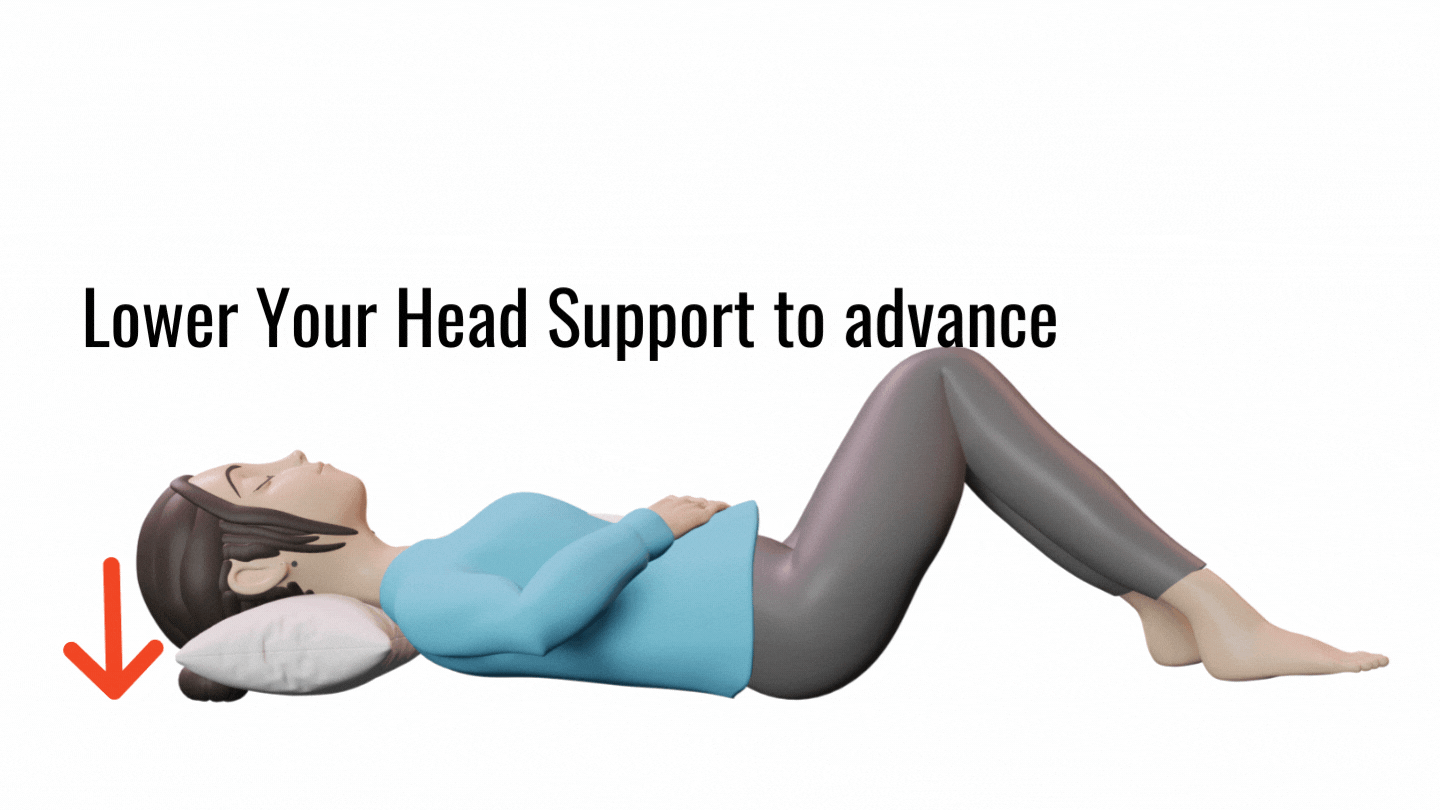
Position Tip: To help get the flat back, you can place a pillow beneath your head.
The support under this part of your spine helps the lower part of your spine flatten.
Arm Wrap
Now you are ready for the last part of the positioning, which is adding
the arm wrap.
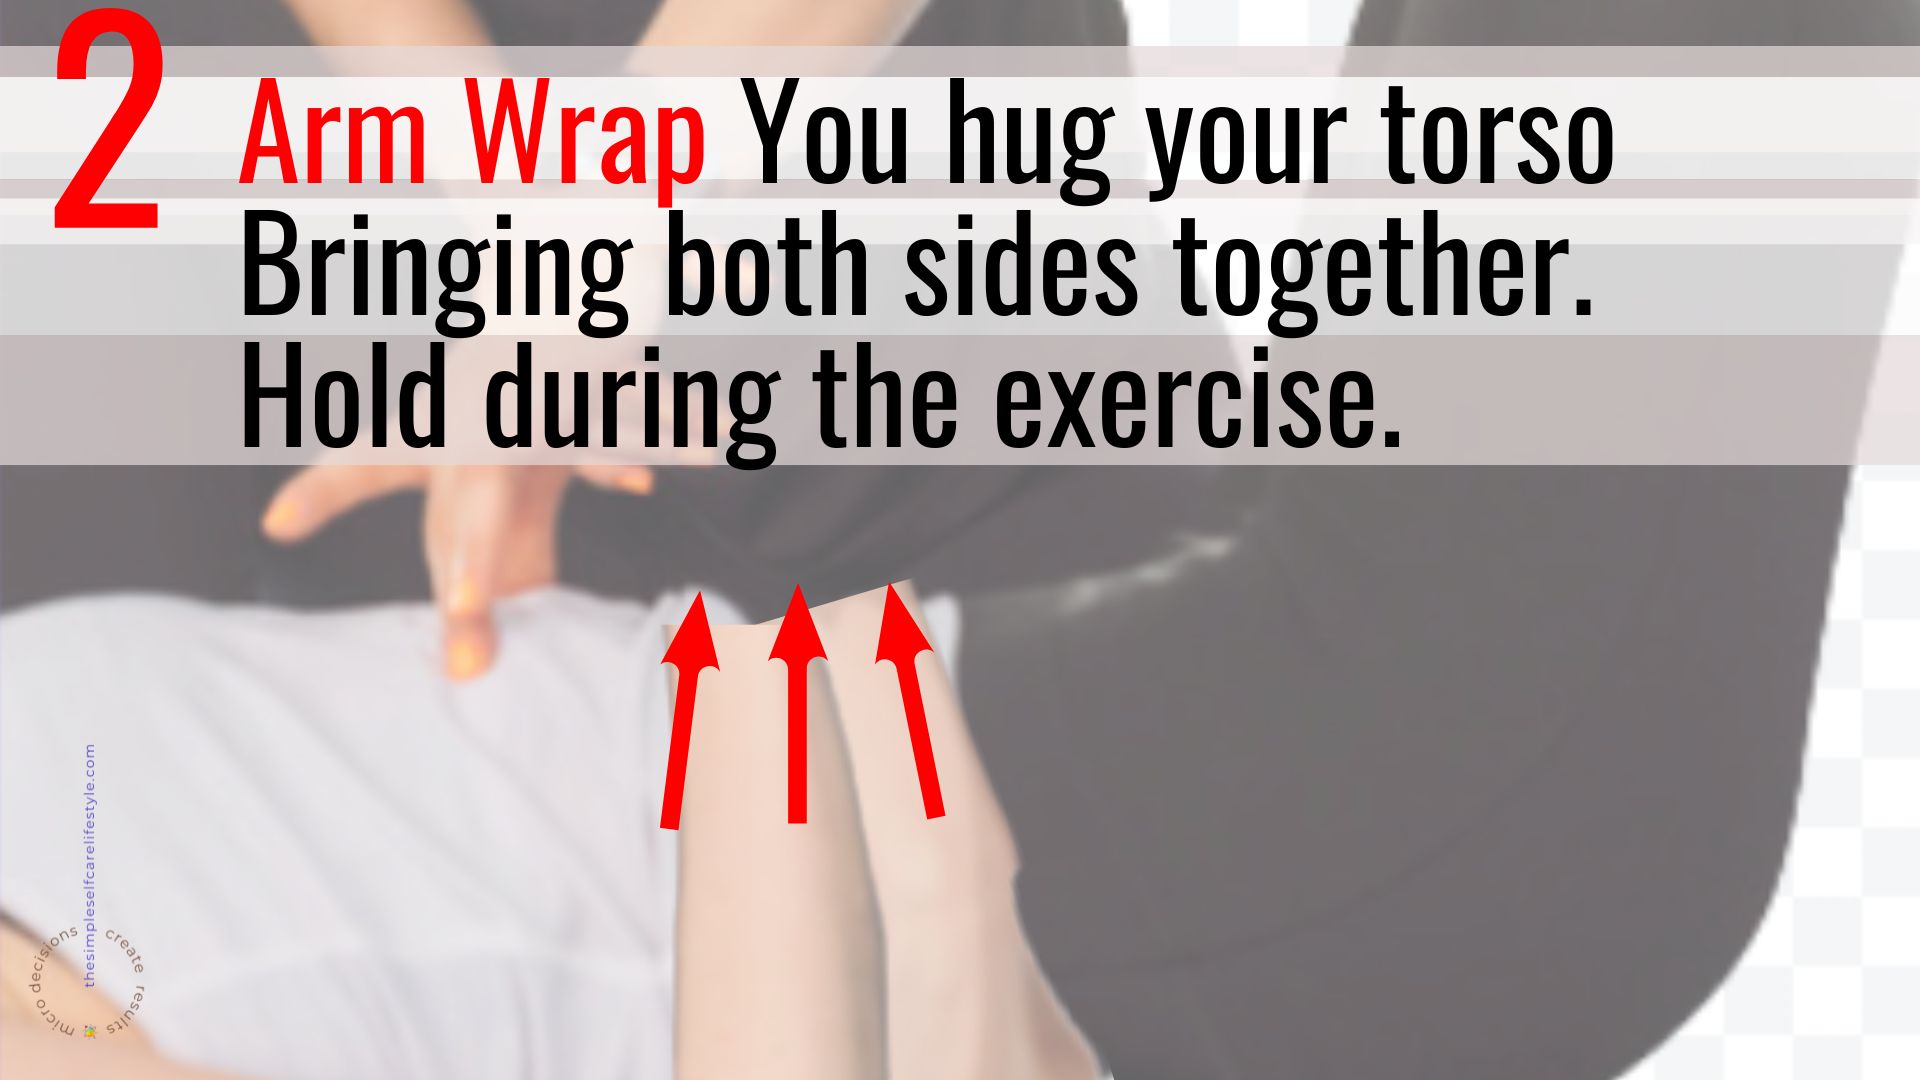
REMINDER as long as our Abs have a Separation, the Positioning includes an Arm Wrap. (min 4:50).
The ARM WRAP IS PROTECTIVE
An arm wrap is where you:
Place your right arm across your torso and place your hand close to the floor on the left side.
Then your left arm wraps over to hold on to the right side.
You slowly but firmly bring the 2 sides closer together and hold while you do the exercise.
The Arm Wrap Helps Bring The 2 Sides Closer

Exercise 2: Breathing
The way you breathe influences the effectiveness of the exercise. The E for E breathing exercise is a technique we use in every exercise program.
It is effective because it trains the #1 Muscle responsible for our abdominal ‘core’ strength.
It is the same technique you learned about in E for E post.
Post: Incontinence urge, ED, Back Pain, Improve Using E for E.
E for E works! Step by step, how to locate the muscles you’ll train and the progressive routines that guide you.
Feel Better, Look Better, and Live Better than you ever imagined!
The Exhaling on the Effort of each action.
The Exhale is when we contract the lower 1/3 of the abs. The contraction of the lower third of our abs is what is pressing our lower back firmly into the surface beneath us. With our mouth positioned OPEN, the air moves up and out of our abdominal cavity. The Pelvic floor and diaphragm are joining in, getting stronger and stronger too.
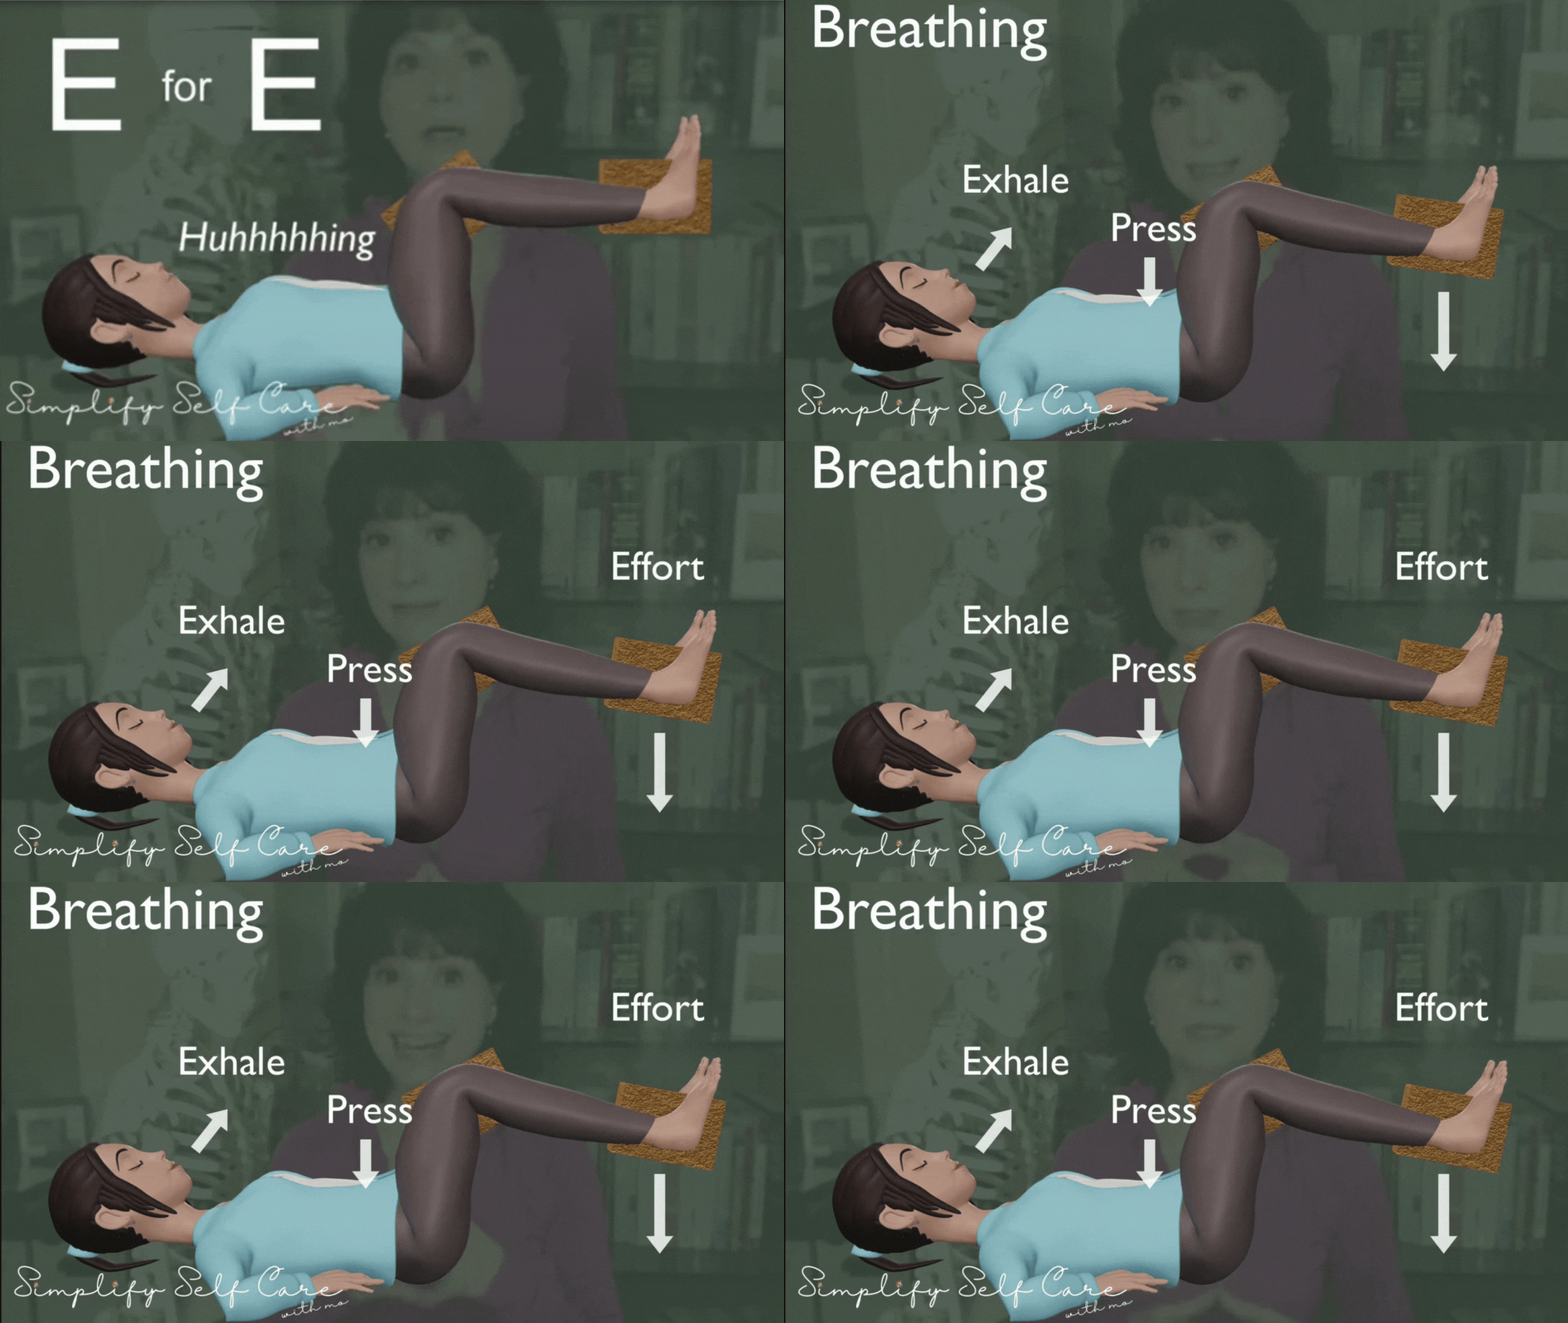
Action Ex 2
Please Note: When you start out, the Position may be the ACTION for you. It is NOT uncommon at the beginning to realize having your legs up and flattening your back IS already challenging!
If having your legs at a 90-degree angle while pressing the lower third of your abs and keeping your back flat is a muscular challenge, that is your ACTION!–
Use the video to pace the length of the time to stay positioned without moving until you have worked up to the full-time. Then incrementally move your legs an inch or two…slowly working your way up to lower your legs as far as needed to create a challenge for your lower ab muscles.
The exercise is NOT about how LOW you can go. The exercises are about finding the point of the challenge. You will get results faster if you slowly build up doing the exercise in a way that challenges the way your abdominal cavity uses the Torso Triad. If your back releases any contact from the floor, you are not using the muscles you want; instead, use your back muscles to hoist your legs back up.
The slower you go the faster you will get there.
this was my mantra when teaching exercise
Exercise 2.5-minute routine
If keeping your position is not challenging enough, we use the bent legs as resistance ‘weight’.

Using the positioning of our legs to increase the resistance.
Maintaining the 90-degree angle as you
Pressing the lower 1/3rd of the abs, Exhaling
Move your legs from the hip.
Legs Move as A Unit
As the legs move as a unit, it challenges the abs, strengthening them as they resist your back, trying to pop off the floor.
Reminder NEVER go so far that your back lifts off the ground.
If your back lifts, even slightly, it is counterproductive.
Two Posts go into lots of detail about this 2nd Exercise.
How to Get Rid of a Belly Pooch
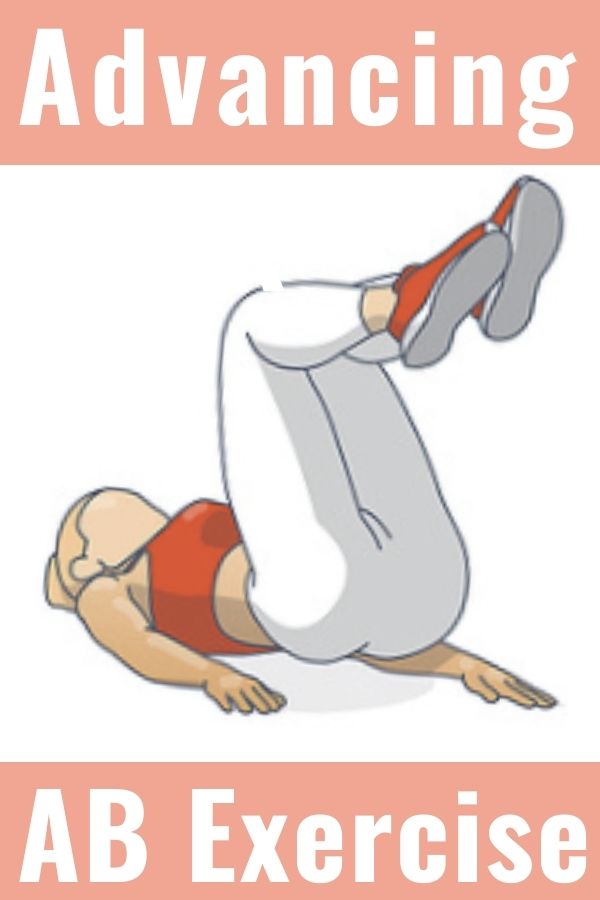
Advancing the Best Ab Exercise
I’ve listed additional posts below for you that expand on the benefits of these two foundational recti-diastasis exercises. Ready to start!?!

Leverage & Layer
I would begin with 21 Days of Ex 1 (This gets our Torso Triad some time to get in sync).
Then I would slowly layer on Ex 2 ( Still training the Triad but layering on a new challenge)
To Layer on Exercise 2, I’d
Days 22-29 – Take the week to practice getting into the Exercise 2 position after finishing Exercise 1. Simply get in, set up, and practice keeping your back flat on the surface.
Then from day 30 (grab a new tracking calendar) to day 45 day, I’d slowly work up to doing as much as I could of the Exercise 2 video.
Day 46 I would begin alternating routines
Exercise 1 video on 1 day
Exercise 2 video on the next day and repeat…..
At Day 60
At day 60, if you’ve consistently been alternating, I’d consider starting the 90-day 5 Simple Exercises Series to improve your posture and core strength!

Re-Cap: 2 Recti diastasis Exercises. Tracking pdf & Links

Re-Cap
Identified the Key Muscles.
Diaphragm
Pelvic Floor
Ab Muscles to work out and get results.
E for E breathing. How it is protective and improves progress.
Walked through Exercise 1 and 2 Positioning with links to additional resources
Arm Wrap
The action of the exercises.
A 60 Day plan.
Below: more links. 30-day tracking sheet to follow your progress.

Links to Posts and Videos that go into even more detail and expand on the benefits of these two foundational recti-diastasis exercises. Some topics include:
Advancing the Best Ab Exercise
Ab separation What is it? Who Gets it? How to Check.
Track Your Progress Pdf:

The Simple Self Care Lifestyle
THe simple self care lifestyle
Simplify
self care
Post categories



SHOP Products
Personal Products
Healthy Home
Quality Supplements
Things to Keep Handy
Quality Food Sources
Simple Self Care Programs


