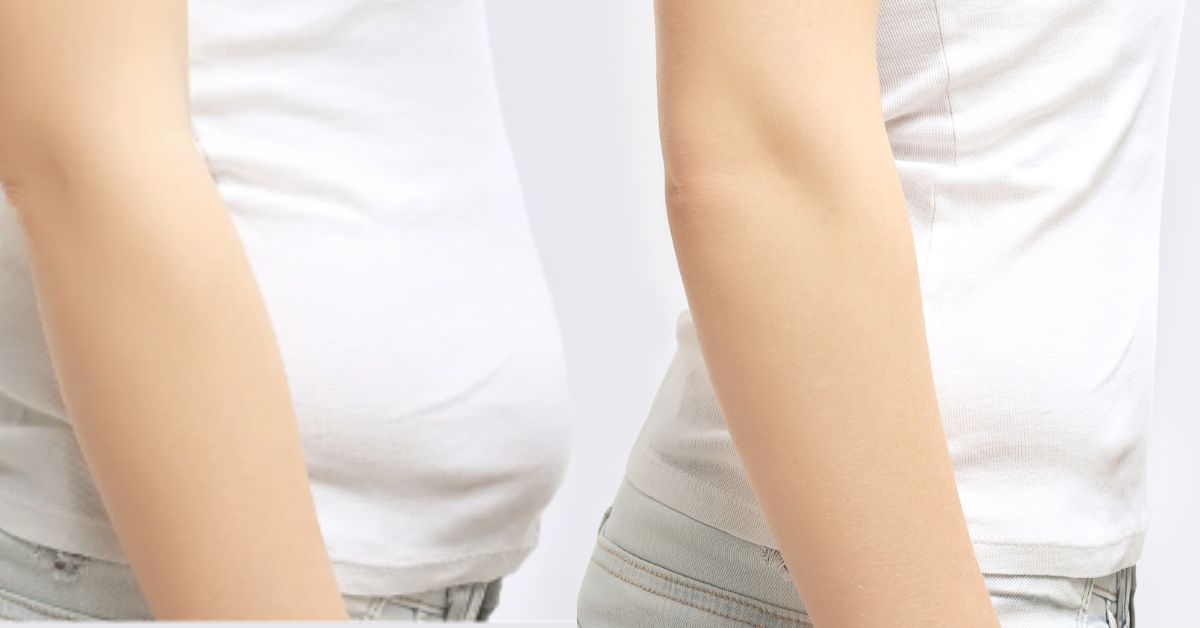
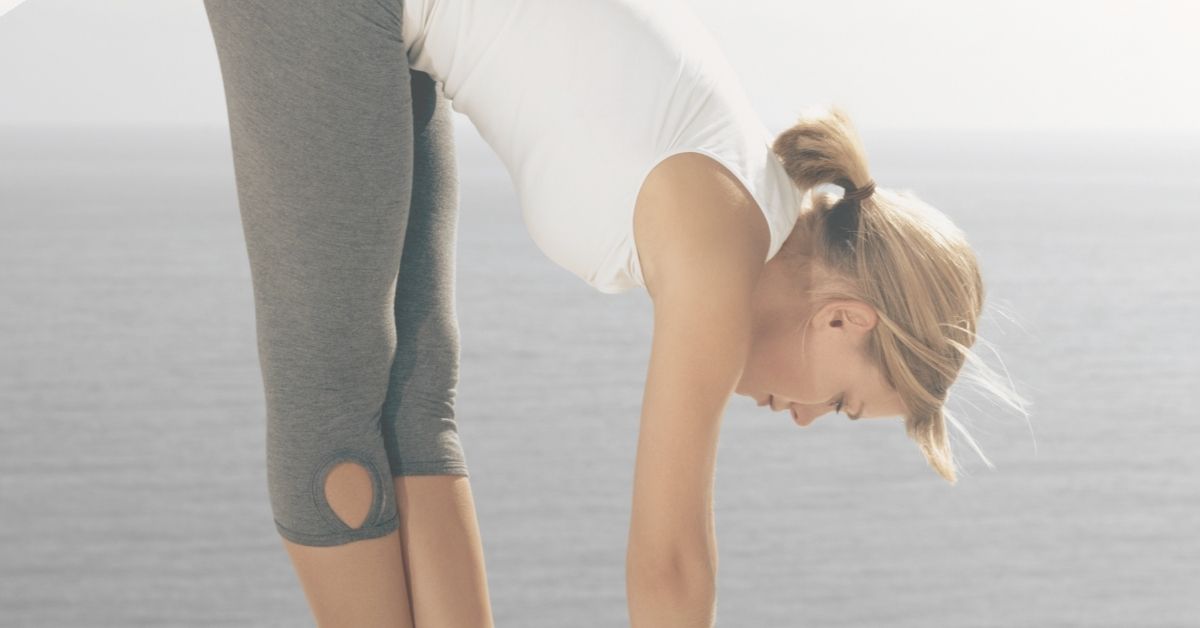
How to get rid of a lower belly pooch. #1 Lower ab exercise.
How to get rid of a belly pooch is multi-faceted. Today’s post, we will focus on 2 foundational pieces that make the largest difference.
To Get Rid of a Belly
FOCUS: The way to get rid of a belly is to address
- lack of muscle tone
- excess fat accumulation
The # 1 lower ab exercise that targets your pooch.
It is the most effective and efficient exercise when it comes to improving lower ab tone.
Video Time Stamps ⏱ for How To Get Rid of a Belly
0:00 Our Pooch
1:59 Props to Positioning them
3:08 Positioning
5:15 Action
5:58 Timing/Breathing example
6:40 Practice Routine
8:15 Re-Cap
9:28 Finding your starting Point
At the end of the video is the direct link to the daily workout video
The Most Efficient Way to Help Set The Body Up To Use Fat As Fuel is Covered in: How to Use Body Fat As Fuel Post 1 and Post 2.
* For videos on How the Body Uses Body Fat, visit here for Video 1 and here for Video 2

How to Use Body Fat Part 1
How fat loss works Part 1 helps simplify what works when trying to lose body fat. One Hormone you CAN influence makes ALL the difference!
Feel, Look, LIVE better. The Simple Self Care Lifestyle

How to Use Body Fat Part 2
Have our timing down from Part 1 – let’s take understanding the way the body is set up to work to the next level. Layering on the specific actions that work with our body to use fat stores as fuel.
Feel, Look, LIVE better. The Simple Self Care Lifestyle
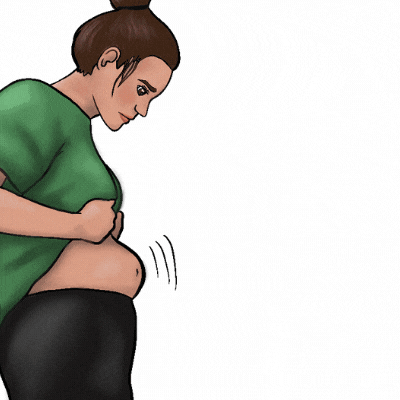
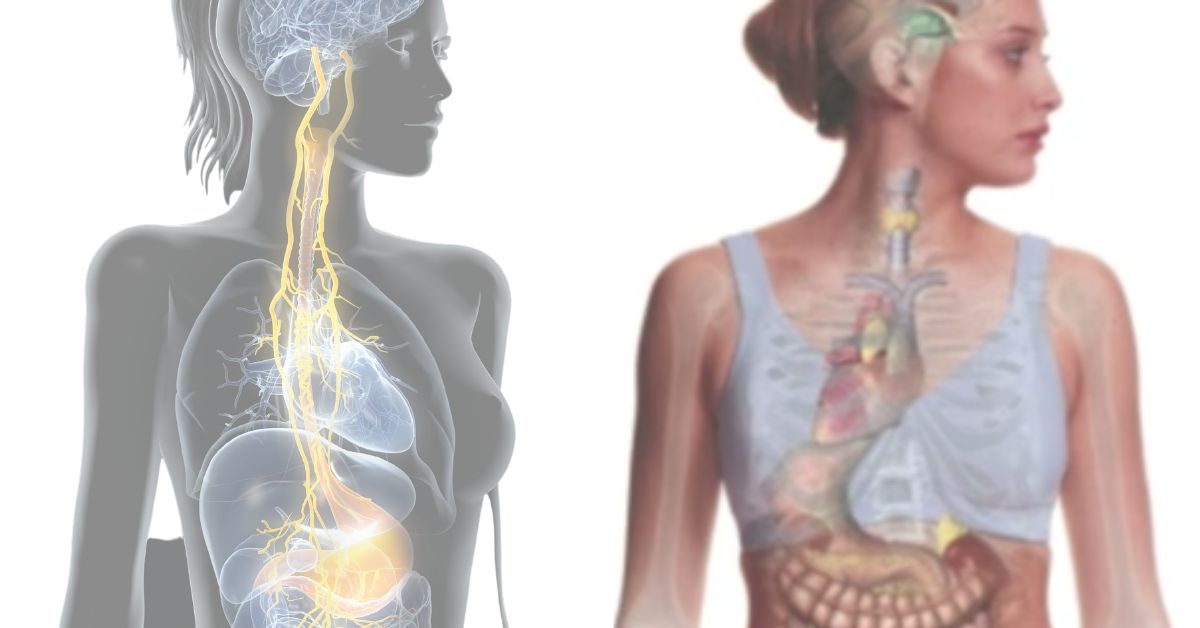
There are many reasons to reduce a belly pooch beyond looks.
Here are just a few of them:
Reducing a Belly Pooch
- decreases/eliminates upper back, lower back, and overall aches and pains
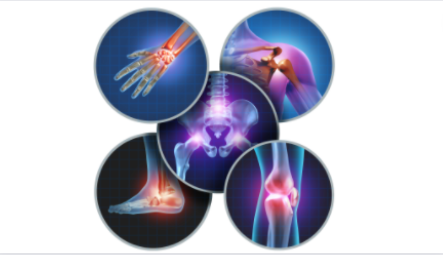
- reduces excess wear and tear on other joints. Joints that are presently moving on an unbalanced posture that a pooch can create.
- diminishes chronic low-level inflammation that can be the result of both: excess body fat stores and moving on an unbalanced posture.
Simple Self Care focused actions like today’s lower ab exercise help you
– get rid of a belly pooch while it
– provides exponential payoff body-wide.
This accomplishes our purpose for doing the exercises of achieving our 1 GOAL of Optimizing our body so we can Feel, Look and LIVE better.
The 90-degree leg-lowering exercise
The #1 lower abs exercise that’ll improve the muscle tone of the lower 1/3 of our abs is the 90-degree leg lowering.

First Props:
We will use a couple of props.
- 2 Yoga blocks or a bolster.
- and a beach towel.
If you don’t have the props, NO PROBLEM!
– 3 LARGE towels (big beach towel size) and
– a couple of rubber bands or hair ties will do the trick.

Use 2 of the Large Towels and Ties to create your own bolster.
- Take 1 of the large towels and roll it up.
- The other rolls around it, squeezing the end together.
- Secure this roll at each end using rubber bands or hair ties.
The result will be something that looks like a big tootsie roll.
I’ve placed a photo above for you.
This prop will take the place of yoga blocks or bolster.
The 3rd towel will be used to support your head.
You now have what you need.
Keep these items within arm’s reach as we move to positioning.
Position:
- On your back.
- Bend one knee
- Place your foot flat on the floor
- Repeat with your other leg
- Now it’s easier to position your back nice and FLAT against the surface.
- Lift 1 leg up as shown below
- KEEP YOUR BACK plastered flat into the surface and
- Lift your other leg up.
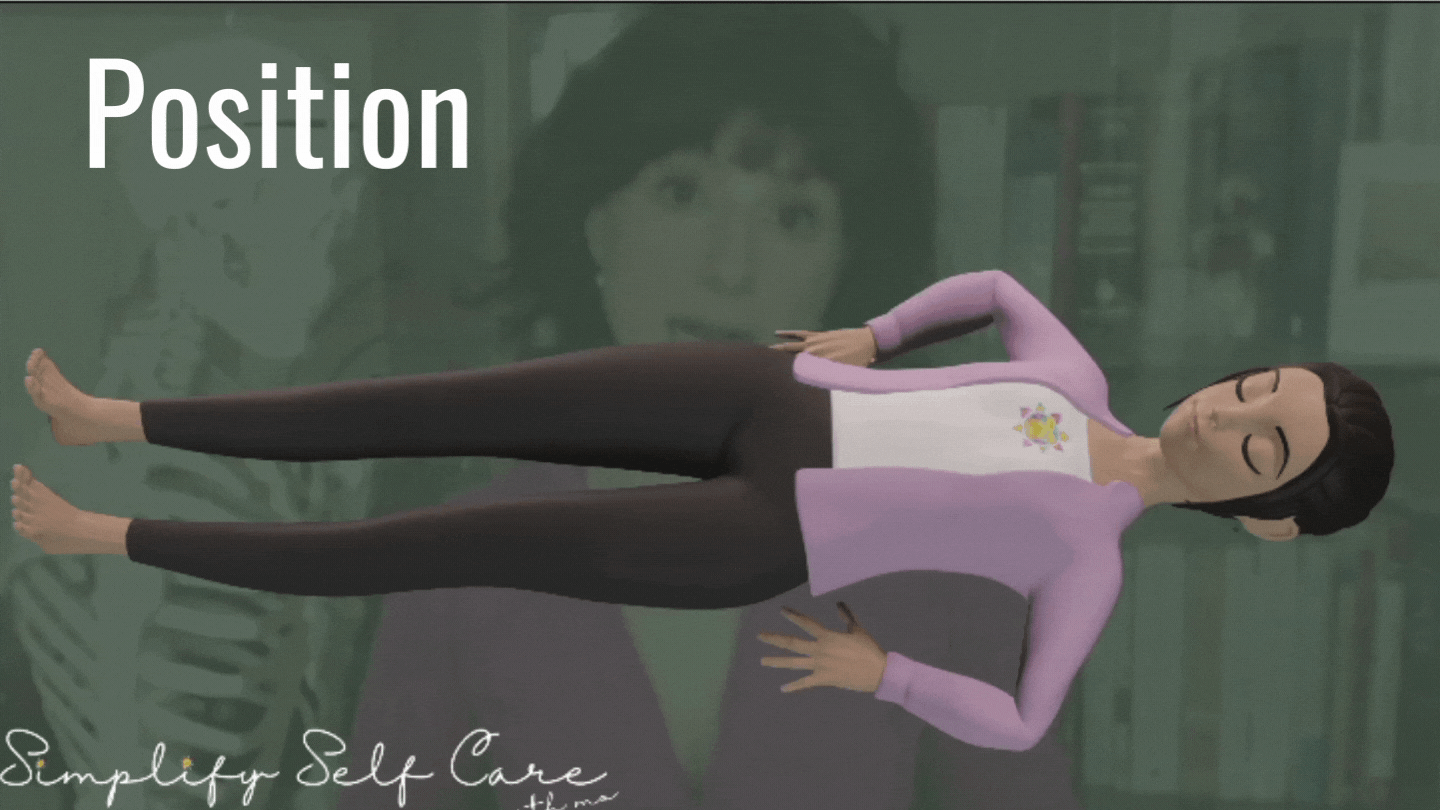
*If your lower back feels:
– stressed or
– like it’s popping up and off the ground
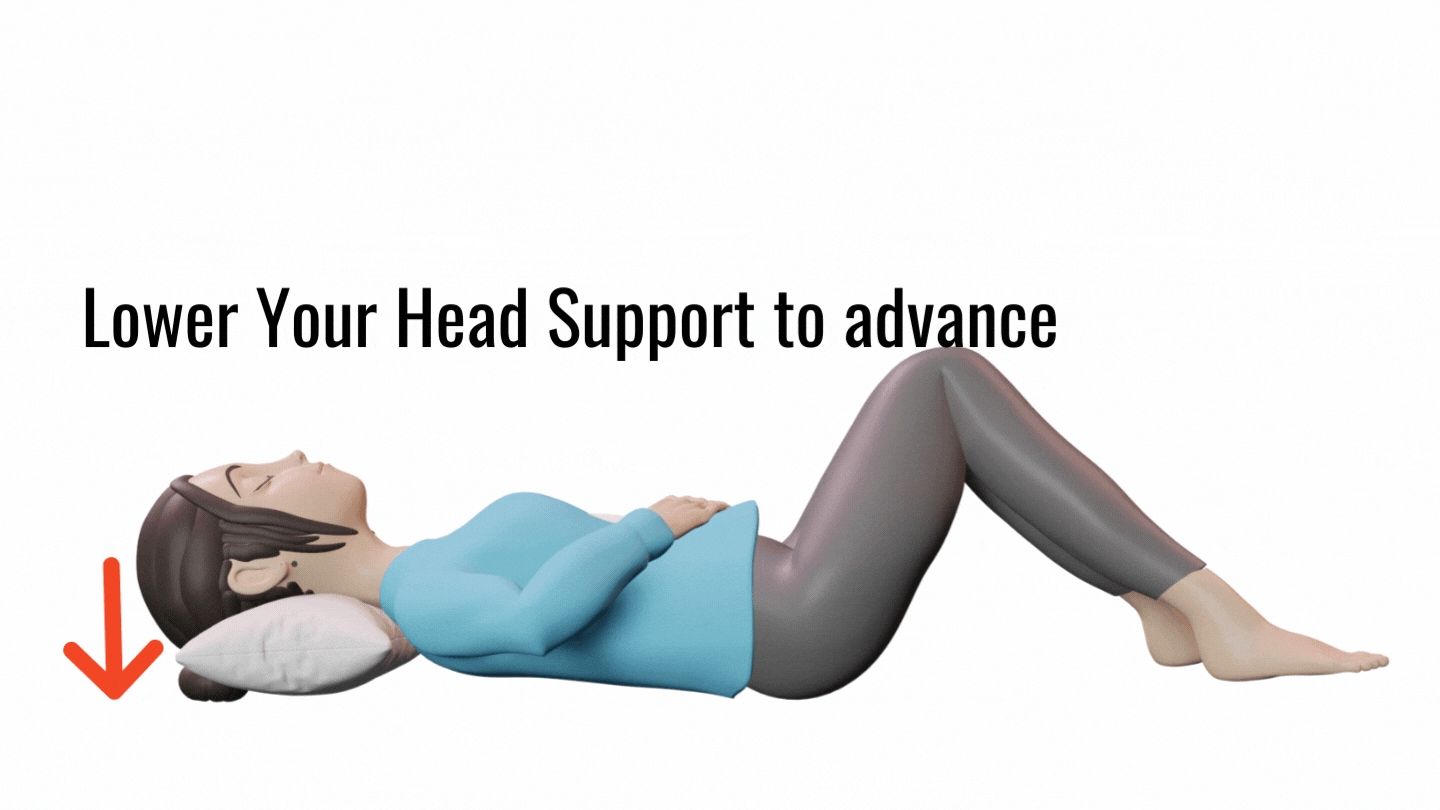
👉🏼 Roll the 3rd towel and place it beneath your head.
You will know the height of the towel is right when you can keep your back flat.
NOTE:
Over time, as your abs strengthen, you will lower the roll. This is because the amount of head support you need to keep your back flat will reduce.
Now that you have your positioning down, grab your prop.
Either your
- 2 Yoga Blocks or
- Your Bolster
and place the prop between your knees and ankles,
Depending on your prop your set-up will now look like this:
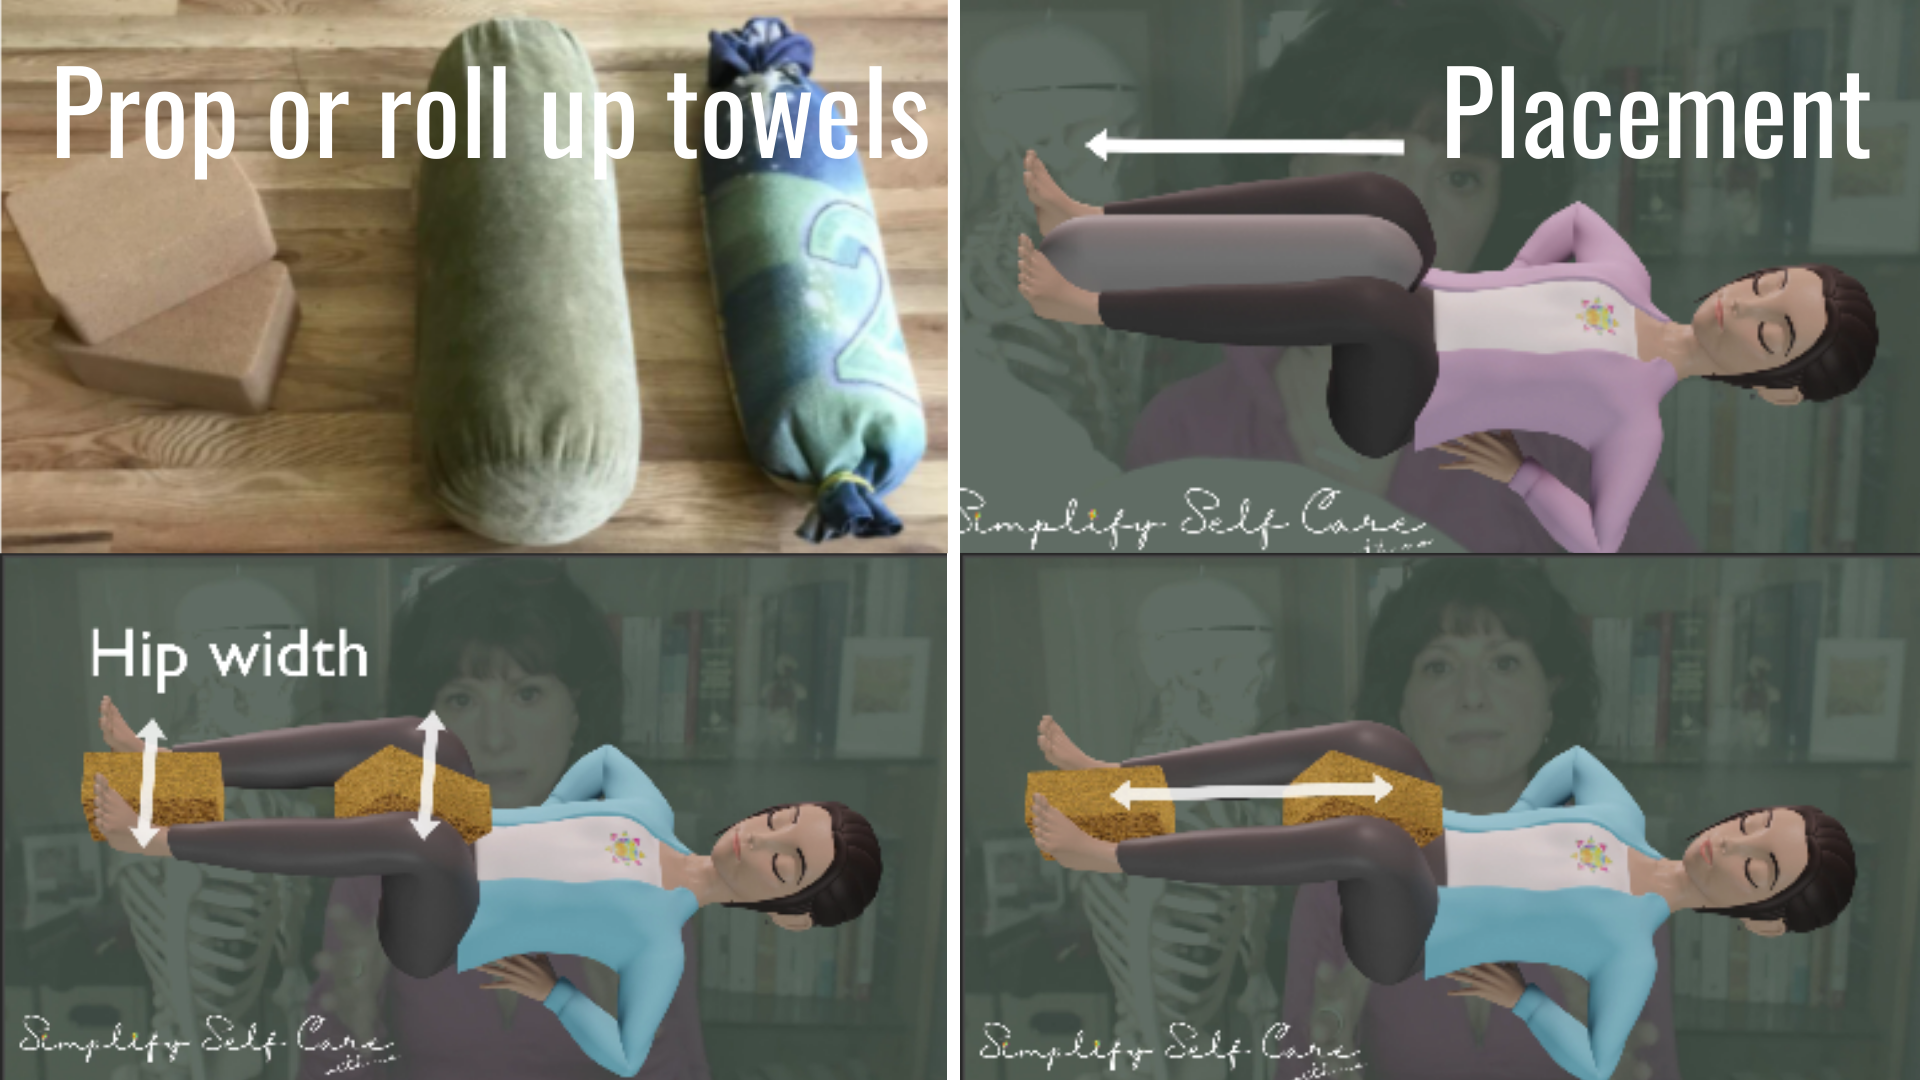
Your prop helps:
– incorporate more muscles and
– helps you train BOTH sides of your ab muscles equally.
Before moving on, let’s make a quick check.
Place your hands by the small of your back. Take a moment to determine if your back is still nice and flat.
Not kinda flat.
Not close to flat.
Totally FLAT. 👍🏻
If your back is totally flat, great!
If not, let’s fix that.
To do that, please get back out of the position so you can increase the size of your head support.
To get out of the position:
- Remove the props between your legs, and then
- Lower one leg at a time.
With your towel adjusted, place it back beneath your head and repeat lifting one leg at a time.
If you can now keep your back flat awesome.
Movement:
In this position, you are
1. Squeezing your legs to hold the blocks or bolster in place the entire time.
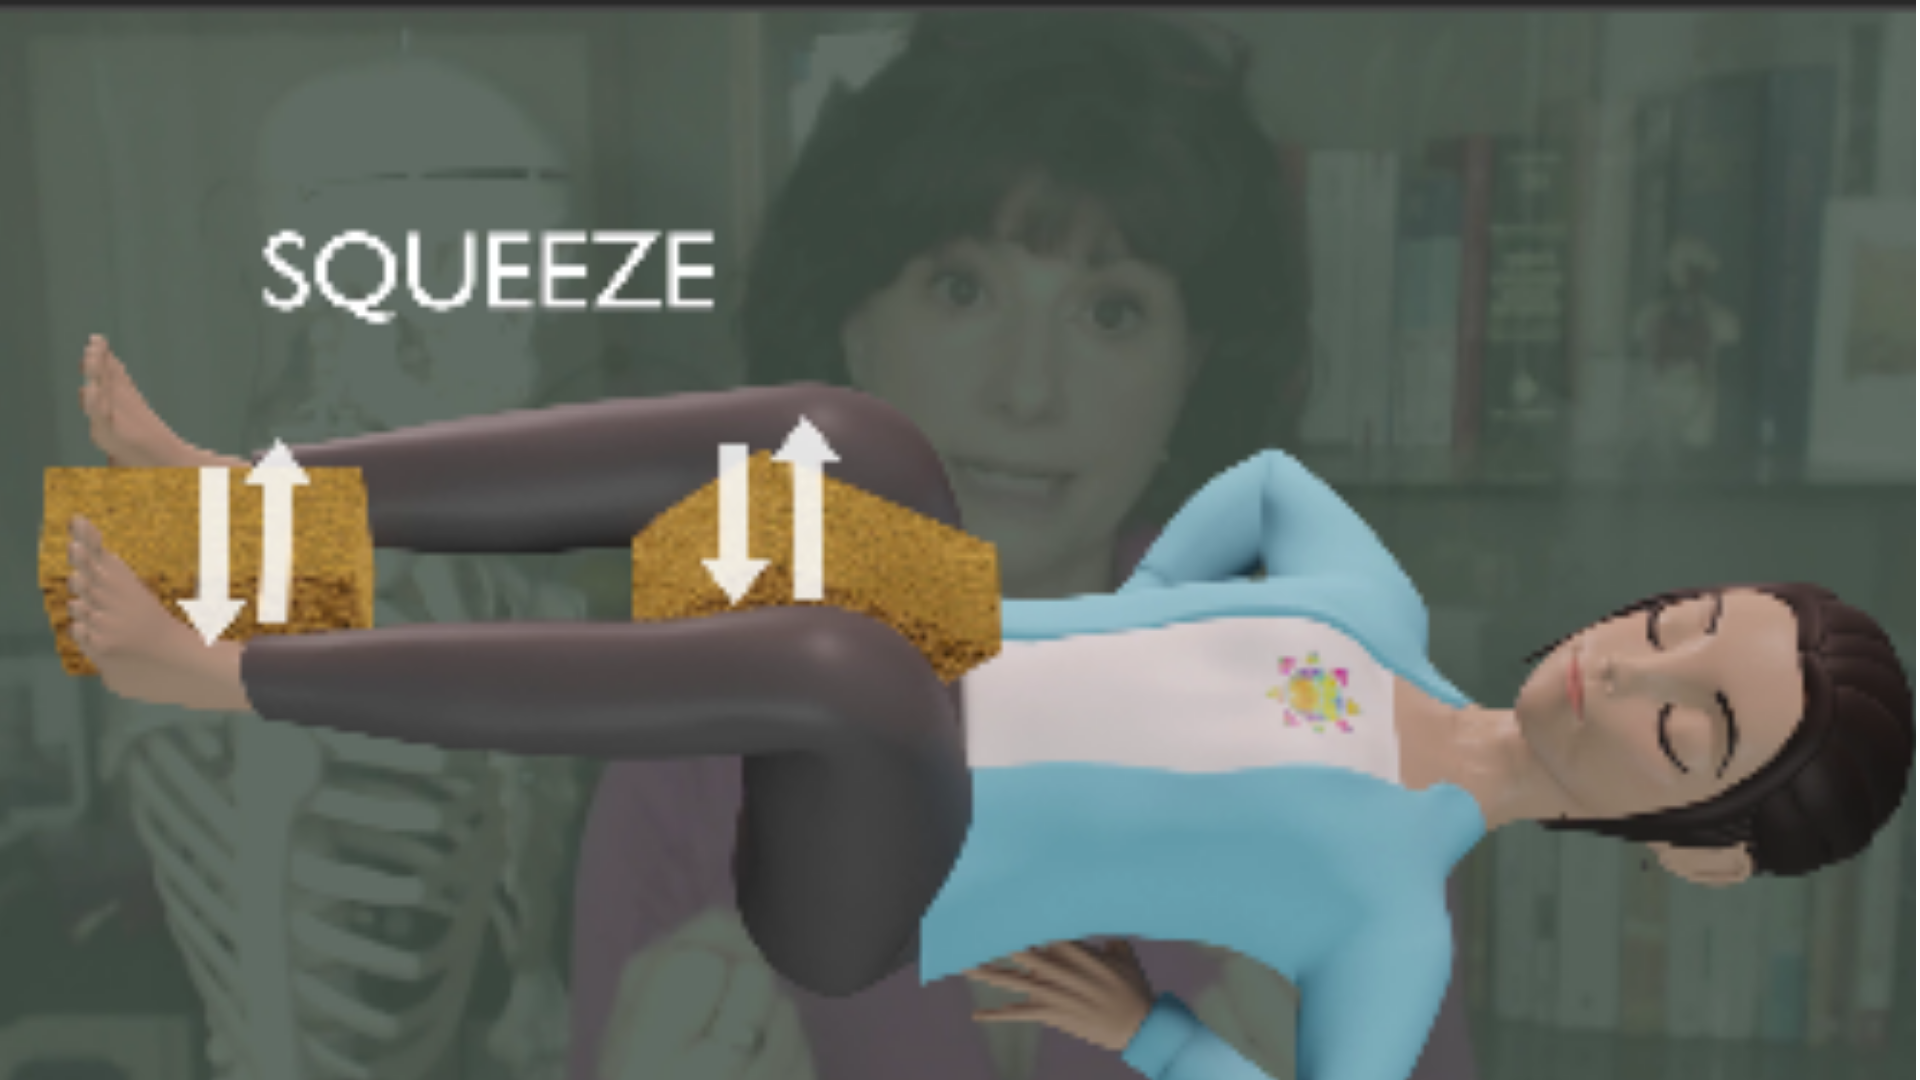
2. You will then S-L-O-W-L-Y lower both legs, keeping them in this 90-degree position.
Your Legs in this 90-degree position are pivoting from the hip.
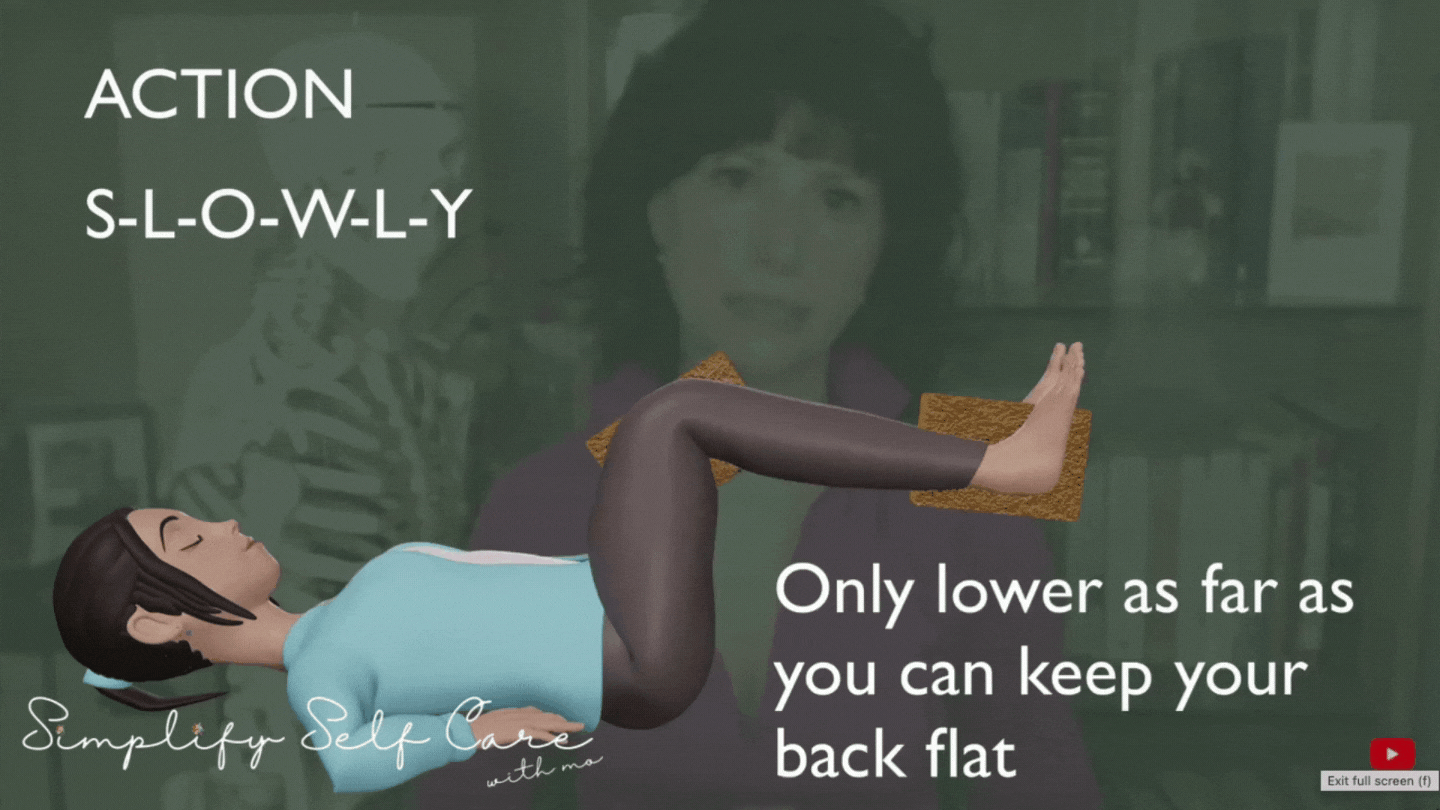
You lower as far as you can AS LONG AS you are keeping your back flat.
Again because this is SOOOOO important, it’s- Not kinda flat. Not close to flat. FLAT.
As you rotate from the hip joint, you STOP just before you cannot maintain your flat back anymore.
Then transition smoothly, slowly, bringing your legs back up to the starting 90-degree position.
That is the movement!
YOU MAY HARDLY MOVE, AND THAT’S OKAY. That is your starting point.
If your abs are challenged by holding the prop and holding the 90-degree leg position, you will build from there one millimeter at a time!
Now for the breathing. Exhale on the Effort.

Your exhale is created by using the lower 1/3 of your abs to PRESS downward.
By pressing your lower abs downward, your air will naturally move up and out of your open mouth.
When we exhale, we are avoiding blowing out. And we want to avoid ‘sucking in’.
Aim to allow the air to be pressed up and out of your abdominal cavity by pressing your lower abs.
It is natural to want to suck in to make your belly flat, but that’s the opposite of what we want. It’ll take practice, but over time keep your attention on the action of pressing your lower muscles to PRESS the air out.
There are 2 Videos Focused on the Best Breathing Technique for Most Exercises. They Are:

Neck Hump? Train This Muscle FIRST!
For every muscle skeletal chronic condition related to postural imbalances, the KEY is to train this muscle FIRST!
Feel, Look, LIVE better. The Simple Self Care Lifestyle

E for E!
Incontinence, Urge, ED, Back Pain….chronic conditions re is the 2 Step technique to help restore balance in our core region.
Feel, Look, LIVE better. The Simple Self Care Lifestyle
Breathing throughout the exercise:
For each repetition, you are
- pressing your air out using your lower abs
- while lowering your legs to offer the ‘challenge’ your ab muscle needs to strengthen.
You are Exhaling on the Effort.
Then you are
- Inhaling through your nose as you bring your legs back up.
Please Note: You can use timing and type of breathing that works for you in the beginning.
As you get used to the exercise, you will be able to place more focus on the E for E Exhale on the Effort breathing gaining even more from the exercise.
Points to remember:
- We are using our legs as the incremental challenge we need to strengthen our lower abs.
- The goal is not to get your legs down to the ground. The goal is always to provide the amount of resistance that challenges our muscles.
- As you get stronger, your legs will go lower, and then it is time to add weights.
- It is important to keep our mouths open and allow the air to be pressed up and out by our lower abs as we do the exercise.
- When weights are added, it is critical to START from the beginning.
- This means checking the head support. Checking the lower back. Finding how far to lower.
Here is the 2-minute exercise video
It has 4-7-8 breathing, but – you do whatever breathing works for you in the beginning.
Give it 90 days!
90-day tracking sheets for you.

Video Topics Page
Videos are linked for you by category.
Bolster – Blocks – Mat


Posture is a HUGE part of Optimizing Our Terrain. This important exercise is also a part of The 5 SIMPLE (not easy) exercises of the 90Day series. A series where we slowly build our muscle strength in a balanced way, positively impacting our ENTIRE body.
All Simple Self Care Lifestyle Programs, Posts, Tools, and Tips, support the 1 GOAL, 1 FOCUS, 1 Micro Decision at a time.

90 Days 5 Simple Exercises
The Simple Self Care Lifestyle
THe simple self care lifestyle
Simplify


I’m glad you are here…
self care
Post categories


The Simple Self Care Lifestyle
MOtivator APP
SHOP Products
Personal Products

Healthy Home
Quality Supplements
Things to Keep Handy

Quality Food Sources

Simple Self Care Programs