Knowing how to relieve neck pain, ache, or stiffness using today’s Simple Stretch can come in handy when you want to ease neck pain discomfort and get some relief quickly.
Consistent use of today’s Simple Stretch will help keep neck pain at bay and create the foundation where you can then release the tension right when it starts.
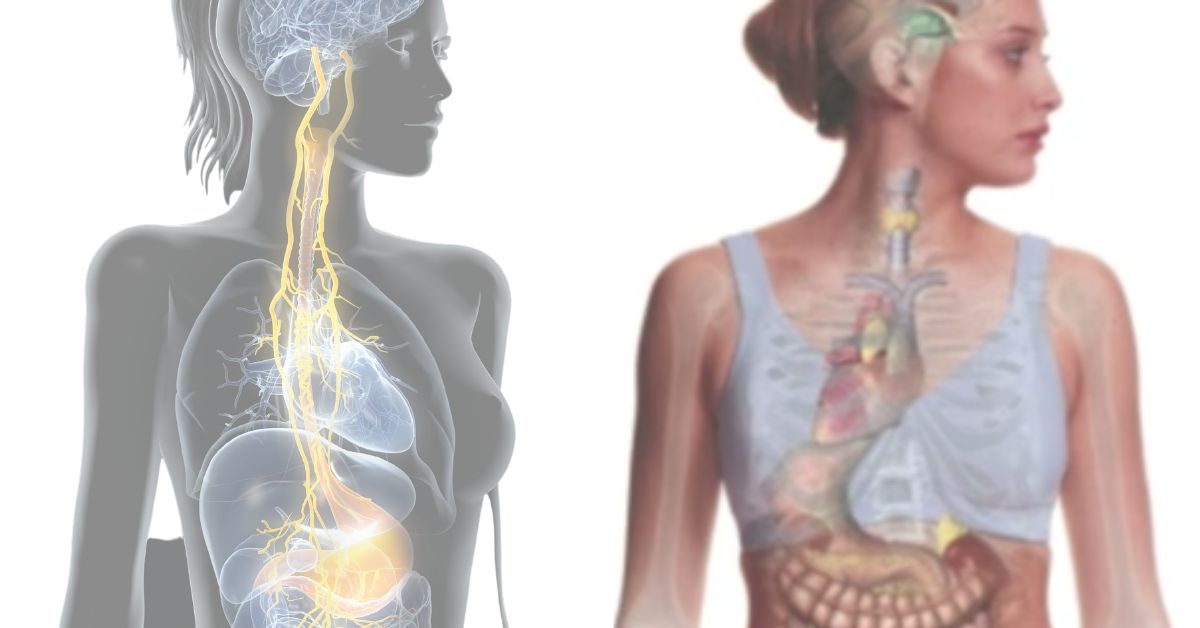
It might surprise you that today’s stretch doesn’t include stretching the neck itself but instead focuses on releasing the tight muscles on the back of your legs.
WHY Focus on the back of the legs?
Releasing taut muscles on the back of the leg, in turn, releases neck tension.
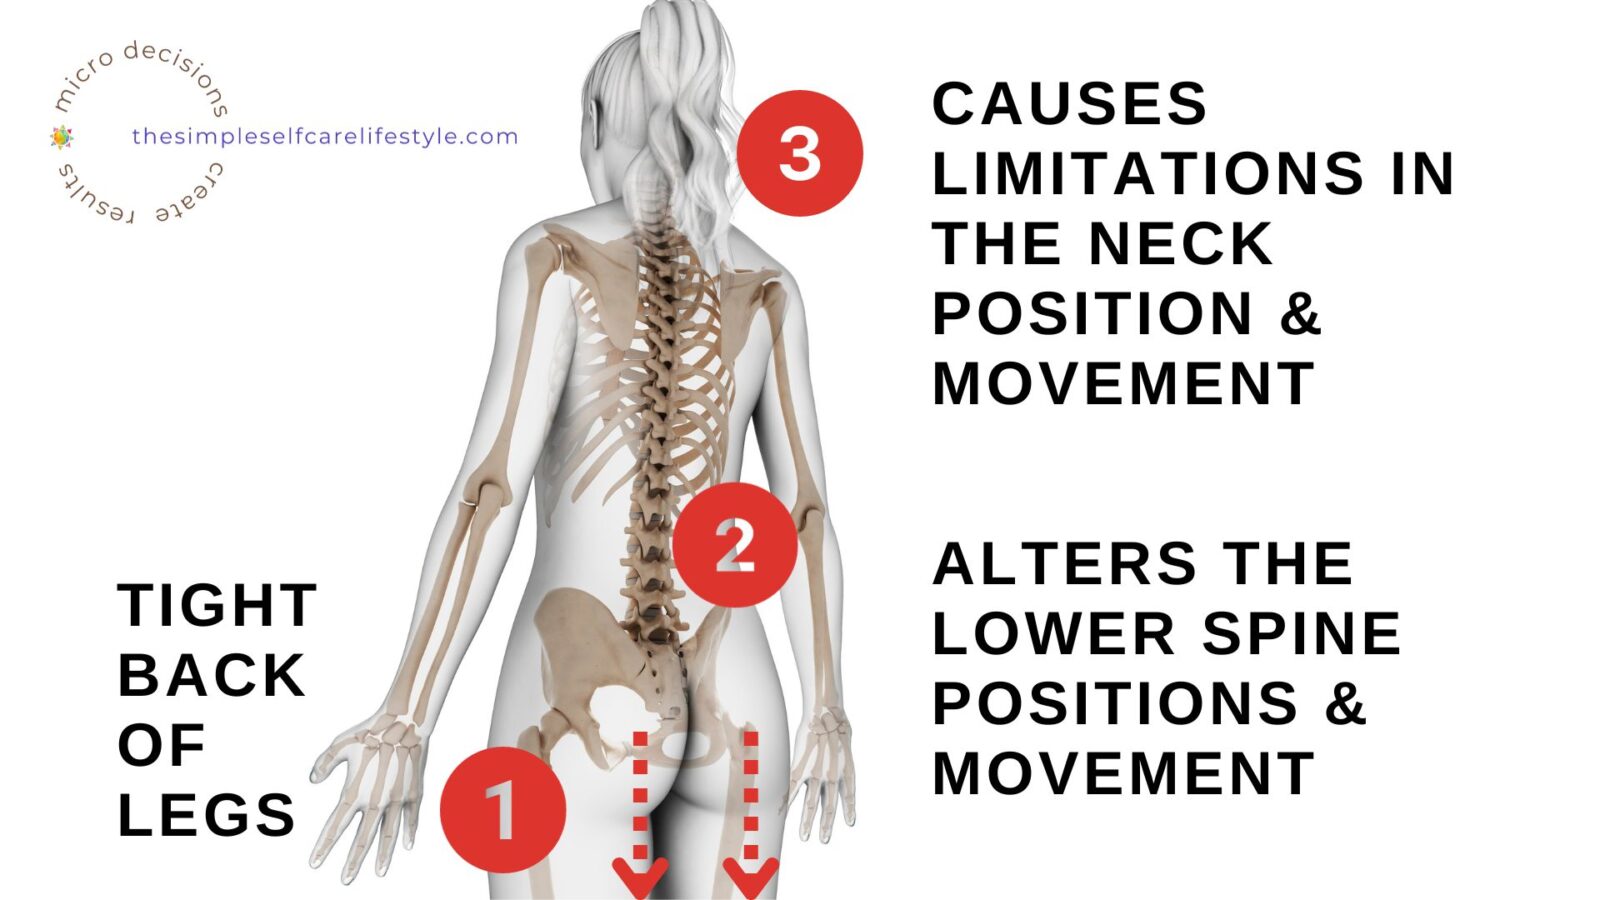
Think of Neck aches, pain, and stiffness as a 1,2,3 domino effect:
Simplified explanation-
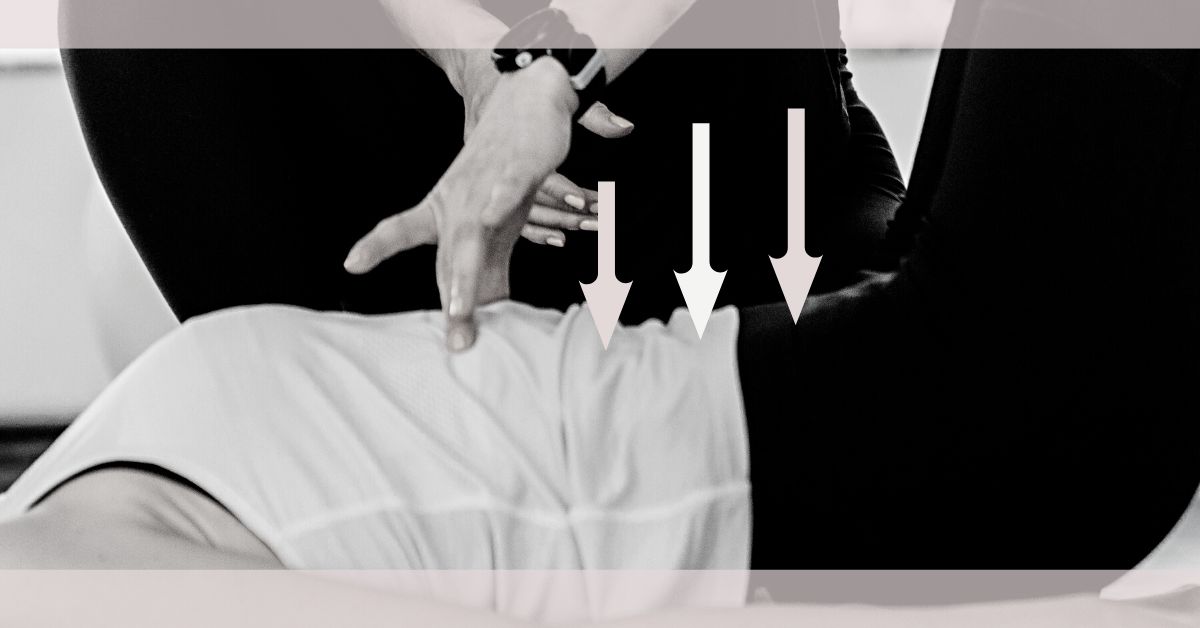
- Tight Hamstrings (the muscles on the upper back of your legs) influence the posture of the pelvic region, which then alters the way your lower spine positions and moves.
- The altered position and movement in the lumber pelvic region can cause limitations in the neck region’s (cervical vertebrae) position and movement.
- Limitations of the movement in the neck region (cervical vertebrae) can create neck pain; aches, and/or stiffness.
Reasons The Back of The Legs Can Get Tight
What makes the back of the legs tight enough that this domino effect happens?
- Sitting for long periods.
- Walking, hiking, running…
- Carrying heavy items (including children).
- Many Sports. Biking, Rollerblading, Ice skating, Skiing, Dancing, Canoeing, Kayaking, Weight Lifting…
- Standing for extended time.
- Wearing heels.
- Being Pregnant.
Neck pain ranks in the top 5 disorders in the United States.
No wonder neck pain, aches, and stiffness are so common.
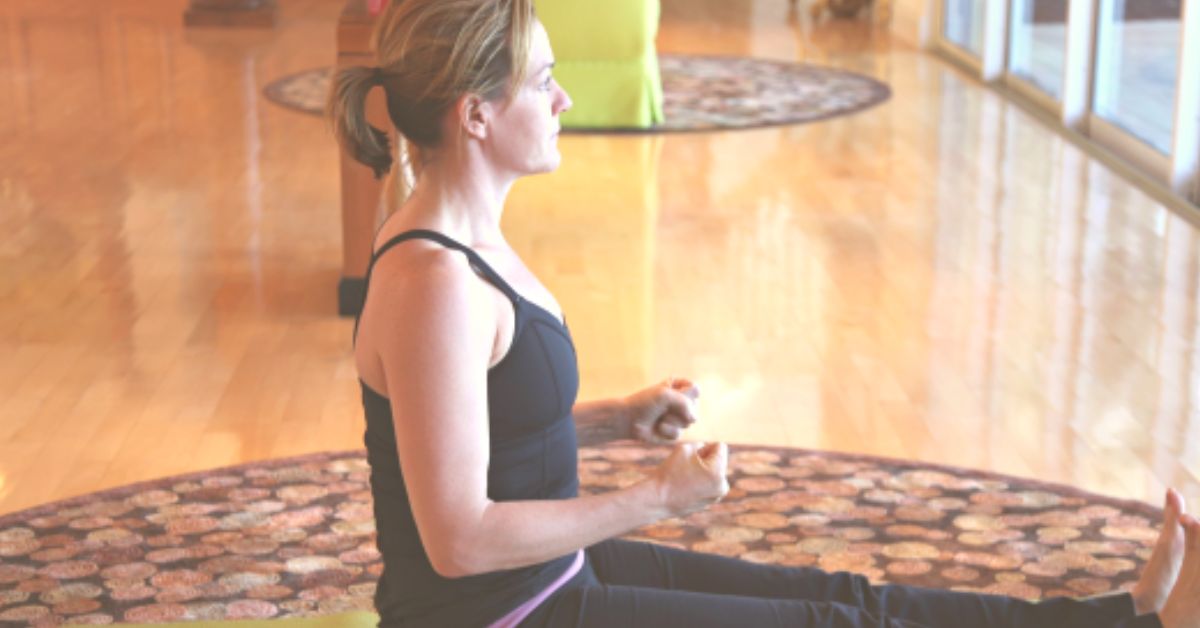
A few weeks ago, while on my typical walk, like clockwork around mile 8, my neck began to have the familiar ache that progressed into a painful pinching on the right side.
As I took a moment to use today’s 1 Simple Stretch to release my neck, I realized this is a great exercise tip to share with subscribers.
Today’s Post
- We are going to walk through a simple way you can gauge your need and progress for the exercise.
- A Quick Check to know if you will stretch both legs for the same amount of time or vary the stretch time on each side to reduce a discrepancy.
- The Simple Self Care Hamstring Stretch to Release Neck Pain.
- A video to guide you initially.
First, A Simple Way to Gauge Your Need & Progress
To see if your (tight) leg muscles may be a part of your neck pain/ache/stiffness, we can quickly gauge the likelihood by getting into a position that provides us with the clues.
Positioning yourself for the simple check is easy. To start, you’ll want to find a spot where you can sit on the floor with your back against a wall.
1. Sit with your back against a wall.
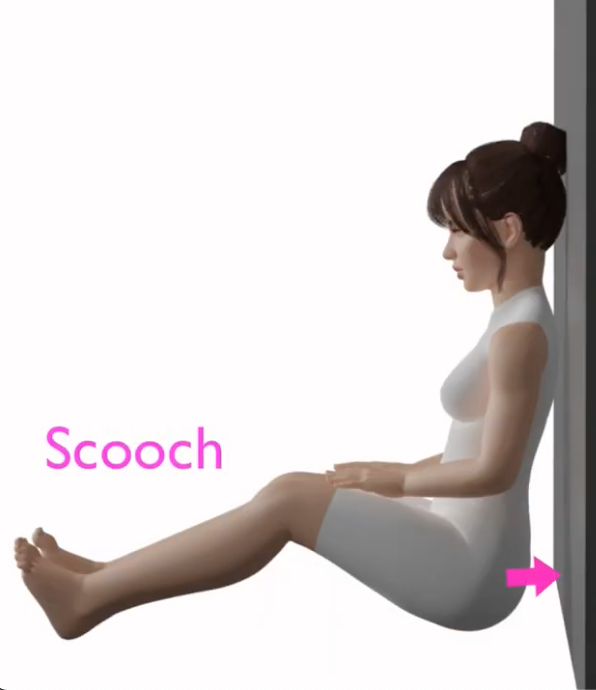
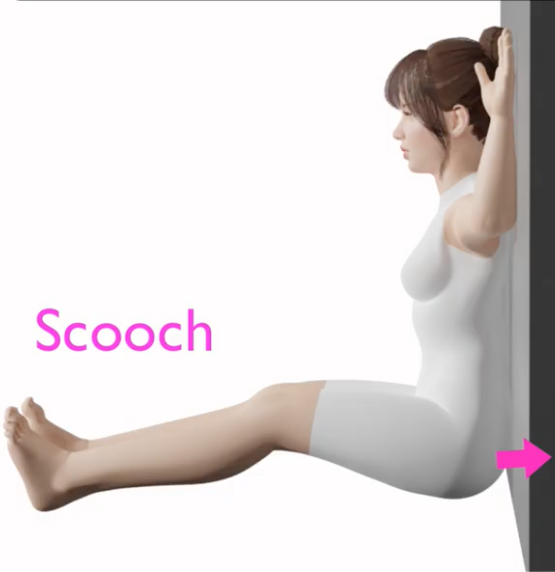
2. Scooch your buttocks so it is close to the wall, touching if possible. Slowly straighten your legs.

What do you notice about the ease of straightening your legs?
- Do they easily touch the floor?
- Is one leg touching and the other leg not?
- Did your buttocks scooch away from the wall as you straightened your legs?
Take a moment to become aware of your legs.
3. Next, bring your arms (bent at 90 degrees) up to shoulder height. Place them against (as close to) the wall as possible.
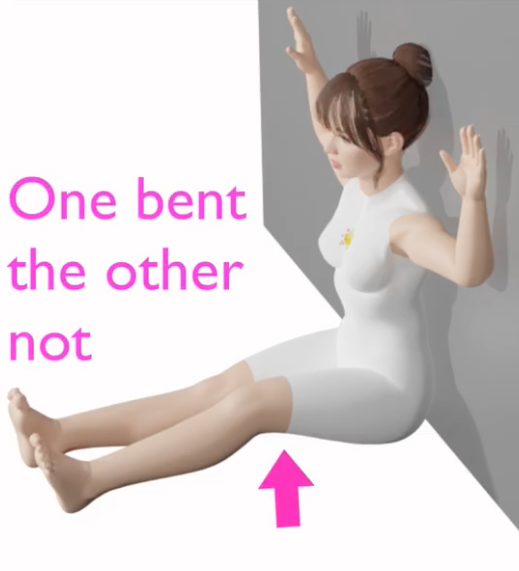
Check in a second time:
- Did that change anything?
- Has one leg popped up?
- Does the back of one leg feel tighter than the other?
- Do you feel a strain in your neck?
- Or maybe you do not feel it in your legs, but instead, you feel or can see that one or both of your wrists are not comfortably flat against the wall.
Minimally make a mental note of your body in this position. Better yet, write down what you see and feel so you can track progress and have a way to gauge the benefits of today’s exercise.

What To Do With The Body Feedback
- When your legs do not easily straighten out and touch the floor, it is an indication that the back of the legs is chronically too tight, and the exercise will positively impact the neck when done consistently to unwind that tautness. Today’s exercise is fantastic for you.
- If both arms do not easily flatten against the wall, including the wrists, this can also indicate that the back of the legs is too tight- again most likely chronic. So, today’s exercise is a fantastic one to incorporate into your daily routine.
- Having one arm, including the wrist, that flattens easily on the wall and the other arm (including the wrist) that does NOT flatten easily most likely indicates that one leg has tighter muscles than the other. Stretching for an additional round on the tighter leg will be most helpful. The beginning of the exercise helps you determine that.
This segues us nicely to the exercise.
QUICK NOTE*: If you can sit against the wall, your buttocks touching the wall with your legs easily extended and in contact with the floor, Plus both wrists comfortably flat on the wall, chances are your Hamstrings are NOT contributing to your Neck ache, pain, or stiffness.
*The Posture Routines and Posts may be more applicable to your neck pain, aches, and stiffness.
*If you do not have neck or shoulder pain but your legs are not able to easily straighten and rest on the floor, the best exercise for you is Butt Slide Up The Wall with Support
Video: Simple Way to Gauge Your Needs & Progress.
Todays Exercise. First, The Quick Check
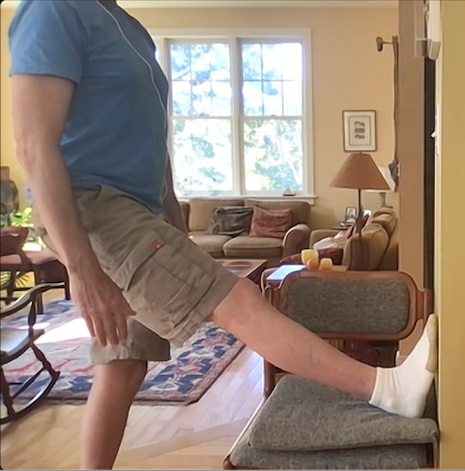
Standing in front of a wall with a chair securely placed against it or something sturdy in front of you. You will lift one leg up and place your heel on the sturdy surface with the bottom of your foot touching the wall.
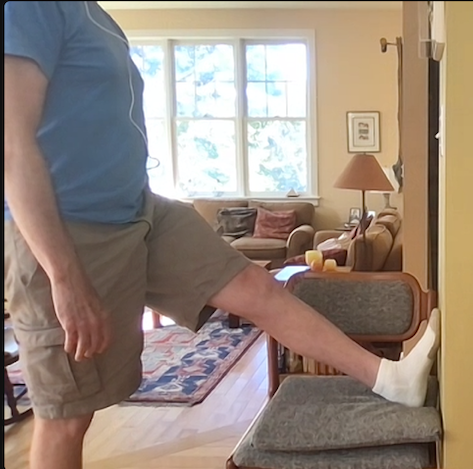
Position Note: It is not shown here, but if you’d like, you can place another chair by your side so the back of the chair is easy for you to hold on to for stability.
Once in the position, take a moment to be sure your HIPS are square, meaning each hip is equally distant from the wall in front of you.
Get a feel for where your muscles are tight.
- All up and down?
- In the Calf region?
- Under the Buttocks?
When you are ready to switch sides
- Bend your knee,
- Release your leg, lowering it and placing your foot on the ground.
- Repeat on the other leg.
- Does it feel the same as the other?
- OR do both legs feel completely different?
What to do if they feel the same or when they feel different.
A Special Note: if the spot where you feel tight is different on each leg, you will start the exercise on the side that feels more taut in the UPPER region of your leg.
An example of this would be
- if your calf is tight on the left and
- your entire leg or the upper part of your leg is tighter on your right
Bottomline: The Check Helps You Know If you are Stretching Both Legs Evenly or 1 More than the Other.
The leg that feels tighter and/or tighter HIGHER on the back of the leg is the one you want to stretch 2x. (Even 3 times to one, if the discrepancy is still hanging around two weeks into using the stretch.)
Going back to my typical neck ache/pain on my walks or hikes.
My left leg will be tighter in the upper portion of my leg, and my right calf will be tighter. This means I need to stretch my Left Leg twice as many times as my Right Leg.
How the Simple Check looks in real time- Video for You.
The Simple Self Care Stretch to Relieve Neck Pain
The Standing Hamstring Stretch WITH Squared Hips and Foot Support.
Please note that the square hips and foot support and positioning on the wall are all key to the exercise.
Simply placing one leg up and stretching the back of your leg will often cause more issues. This is because we do not gauge well if we are stretching our muscles equally.
Many times, clients would say my right leg is much tighter than my left, but when they had:
- the chair and wall as guides,
- squared off their hips before moving
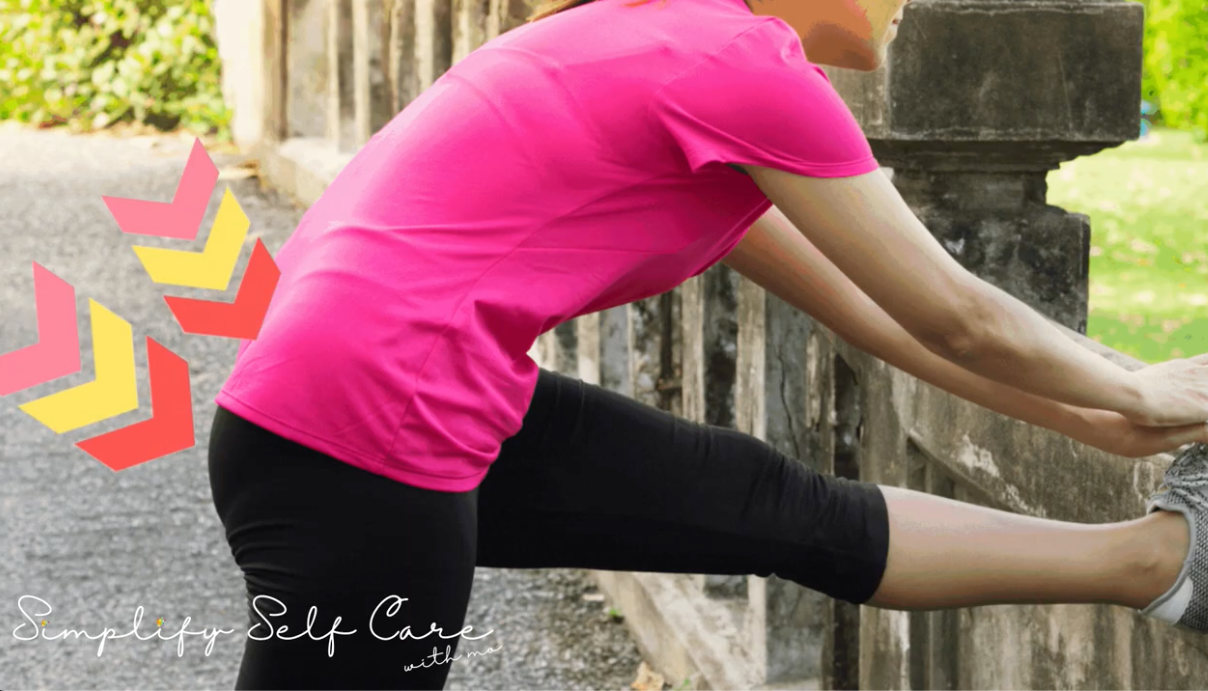
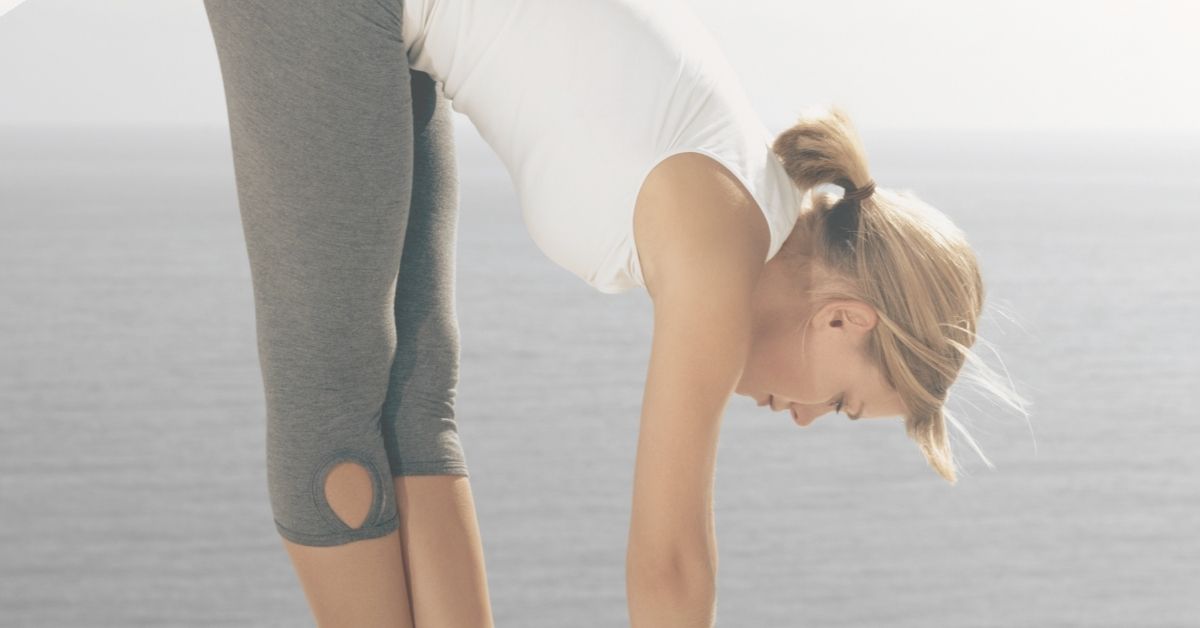
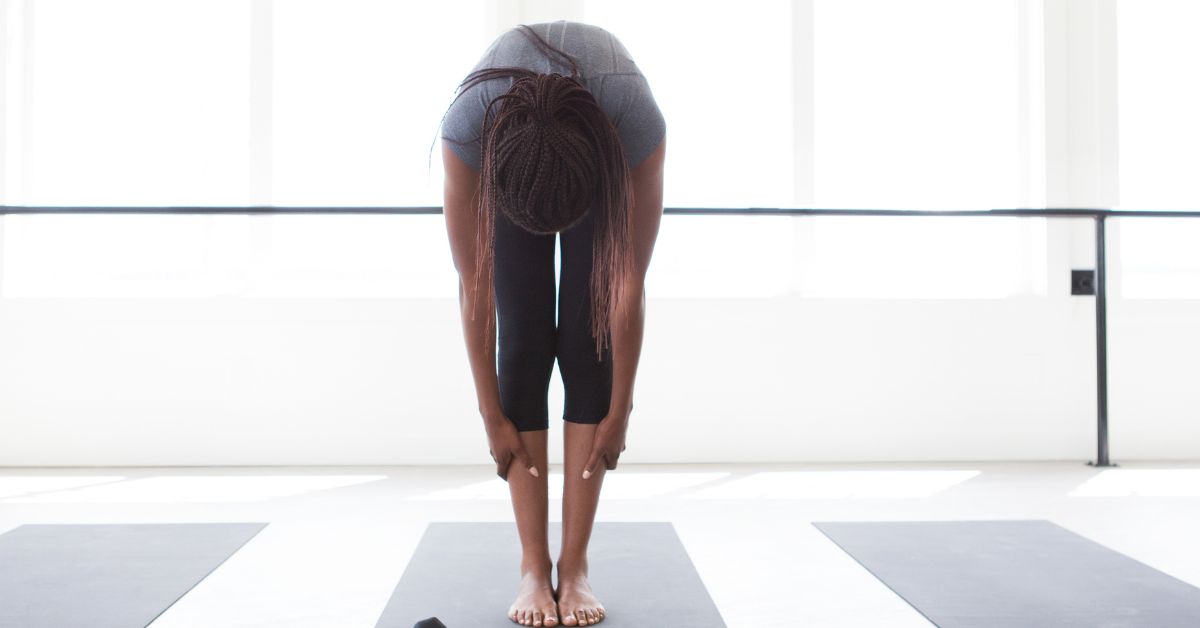
- kept their back straight (vs folded over as pictured above)
they realized WOW!!! it is exactly the opposite.
This realization was great because they could resolve the discrepancy they were unwittingly promoting by overstretching the wrong side.
I mention this because it is common to think that positioning isn’t all that important when, in reality, the Position is ‘THE’ KEY to results. Position, MORE than anything else, changes EVERYTHING.
Okay, let’s cover the positioning of your body during the movement, including the breathing aspect of the exercise.
Position
Standing in front of your sturdy chair that is positioned against the wall,
- Place one foot up on the chair with the bottom of the foot on the wall.
- Then, lift your torso upward so you are nice and tall. You will feel elongated. If possible, maintain this elongated spine position throughout the exercise.
Exercise (using the E for E Breathing)
Repeat on the other side.
If you noticed one side tighter than the other when you did the quick check repeat one more round with the leg that was tighter on the chair.
The Breathing Technique We Should All Know and Use.
Once you master the position and release, you can do this anywhere, and really, 20-30 seconds is enough for results. Below is a video guide to practice with if you’d like.
Video to Guide You
The Simple Self Care Lifestyle
Additional Posts on Topic of Movement You May Like


THe simple self care lifestyle
Simplify