Improve your spine’s mobility.
When your back feels tight, sore, or locked up, what can you do? You can implement two simple self care positions to improve your spine mobility.
A spine that can optimally bend forward and back, lean, and twist frees up the rest of your body. It reduces the burden on your neck, shoulders, lower back, hips, knees, ankles, and feet. Today, we’re exploring two simple, restorative positions to help improve spinal mobility and relieve tension.
Today’s post/video I’ll walk you through two specific positions that help your spine decompress, gently release, and begin to unlock discomfort. These positions don’t require fancy equipment or advanced flexibility. You simply need a flat surface and a little quiet time to experience the difference they can make.
If you’ve been feeling like your body is tense, especially through your back and hips—or you’ve noticed your posture collapsing, your ribs flaring, or your breath stuck in your chest—this post will guide you to relief in a simple, approachable way.
Why Spinal Mobility Matters
The goal of today’s work is to gently stretch your deep spinal muscles, the ones that enable you to lean, bend, and twist with ease. In earlier videos, we focused on exercises that build spinal stability. Now, we’re layering on a movement that supports and improves mobility, giving you a balanced foundation for your body.
These Positions Work WITH Your Body
These two positions are based on how your spine interacts with gravity, breath, and muscle tension. Often, spinal discomfort isn’t caused by injury, but by chronic holding patterns: tension in the pelvic floor, locked-up ribs, shallow breathing, and collapsed posture.
By returning the spine to its natural curves, letting the body rest fully against the floor, and breathing in a specific way, you signal the nervous system to release tension. That’s what these positions are designed to do.
They:
- Gently stretch the spine without forcing movement
- Create decompression without traction or devices
- Encourage the release of the psoas, diaphragm, and pelvic floor
- Reintroduce the natural shape and movement of the spine
Let’s walk through them step-by-step.
What You’ll Need
Gather a few props before you begin: yoga blocks, pillows, towels, even a step stool. The tighter your hips and legs, the more height you’ll need. Don’t worry; if you need to make a few adjustments, this exploration is part of the process, and it’s all about finding what works best for you.

Note: Image links to cork block options on Amazon
Finding the Right Prop Height
Position controls 99% of an exercise’s effectiveness. Take the time to determine the height of support your body requires. Start with something about the height of a tall yoga block. If you find you need more, stack a block with a towel or use a stool.
Remember: your props aren’t a measure of how “good” you’re doing. They’re tools that make the position work for you.
Position 1: Spinal Mobility Supported Knee
Step-by-Step Instructions
- Begin by lying on your back. Use a head support if needed.
- Arms go out to shoulder height. Palms up or down—whichever is more comfortable for your shoulders.
- Slide one foot up toward your buttocks.
- Lift that leg, bend the knee, and place your foot just below the opposite knee.
- Slowly allow that bent leg to drop across your body, letting your back and hip lift slightly as your knee rests on your prop.
- Adjust the prop height if needed. Your knee must rest fully for a passive stretch to take place.
You might feel the stretch in your back, glutes, or along the back of your thigh. Wherever it shows up, it should feel gentle, not forced.
Add Breath
Take a deep breath in through your nose for a slow count of eight. A great tip: count by adding the word “Mississippi” after each number (e.g., one Mississippi, two Mississippi…)
Exhale slowly, allowing yourself to melt into the stretch.
Repeat on the Other Side
- Engage your abs and return to center.
- Switch legs and repeat.
- After both sides, take a moment to pause and check in.
If one side feels tighter than the other, repeat the exercise on that side. Consider using a 2:1 or 3:1 ratio for repetitions on the tighter side to help balance out discrepancies over time.
Tip: Imbalances are often why people get injured following a “one-size-fits-all” exercise routine. Tailoring reps to your own body improves outcomes and reduces the risk of overuse injury.
Position 2: Supported Leg Rotation. Placing Foot on Wall
This variation of position 1 includes wall support and a longer leg lever, adding new dimensions to the stretch.
Setup:
- Lie down parallel to a wall. The wall should be approximately the length of your legs away.
- Use your arms to measure—if your fingertips can barely touch the wall, you’re likely in the right spot.
Steps:
- Lie on your back with your head supported.
- Arms again come out to shoulder height.
- Slide one leg up and place the foot just below your opposite knee.
- Begin to rotate that bent leg across your body and slowly straighten it toward the wall.
Adjusting the Stretch:
- Your leg might not straighten completely, and your foot may only touch with the ball of the foot.
- Prop height may need adjustment—use a stool or a stack of towels/blocks.
- The goal is a gentle stretch, never strain.
Over time, as your hips and back loosen, your leg will naturally straighten more, and your foot will make a more secure connection with the wall.
Key tip: If your foot goes well above hip level, you’re likely missing the optimal stretch. Keep your foot at or below hip height for best results.
Practice for One Week
Spend the first week just getting in and out of each position. One breath in, one breath out. Contract your abs and carefully come out of the position.
Expect to change prop height and adjust angles daily. That’s progress!
By week two, begin combining these positions into your larger movement practice. You’ll find them included in Weeks 9–12 of the 90-day, 5-exercise series.
What You May Feel After
You may notice:
- A sense of spinal length and lightness
- More mobility through your ribs
- Reduced hip or back tightness
- Calmer breathing and clearer focus
Some people feel emotional release or tiredness afterward. That’s okay. Your nervous system may be processing the shift from a state of tension to one of release.
If you feel energized instead, that’s great too—it means your body is ready to move more freely.
Bonus Position: Passive Psoas + Spine Reset
Wrap up your sequence with one simple reset: The Simple but Effective Low Back Release

Position
- Lie on your back.
- Feet flat on the floor, at least hip width apart.
- Let your knees fall together.
Take an 8-second breath in through your nose, letting your abdominal cavity expand. Exhale slowly, allowing your spine to decompress and your entire system to relax.
This position helps:
- reset your psoas,
- decompress your spine, and
- gives your nervous system space to recalibrate.
For the Full Post

Simple Effective Back Release
Soothe your spine and reconnect with your body using this self-care position and breathing technique designed for back release and comfort plus nervous system regulation.
Self-Care Tip to Practice All Day
Be aware of your posture. Slouching, leaning, or hunching means your deep spinal muscles work harder all day long. When you straighten up—even briefly—you shift that load to your core muscles, giving your spine muscles a chance to rest and recover.
The result? Improved posture, better mobility, and stronger, more balanced movement.
When to Use The Spine Mobility Positions
You can use either of these positions:
- Upon waking
- After sitting for long periods
- During high-stress periods to help your body calm down
- At the end of the day just before you drift off to sleep. Try the Guided Relaxation videos
Spine’s Mobility- Tips for Best Results
- Be consistent – the 1–3 minutes each day builds benefits over time.
- Don’t force it – these are release positions, not workouts.
- Listen to your body – if something doesn’t feel right, adjust.
- Build a habit – try doing one position after brushing your teeth or before bed.
- Use your breath as a guide – when your breath softens, you know it’s working.
Final Thoughts on Improving Your Spine’s Mobility
Your spine is designed to move, to support you, and to communicate directly with your nervous system. When you give it space to decompress and breathe, your whole body responds.
These two positions are a gentle, powerful way to care for your spine, calm your system, and create a new baseline of ease.
These two supportive spinal positions help your nervous system unwind and relieve hidden back stress—try them today.
Today’s video:
Here’s the informational and instructional video for improving your spine’s mobility.
Both Exercises are on Simplify Self Care with mo 1-minute Playlist
Simplify Self Care with mo
1-Min video playlist
New Here?
Check out The Simple Self Care Lifestyle’s 1 Goal, 1 FOCUS & Micro Decision Process then peruse what readers have to say in the slider below, as well as this page, where more readers share their experiences: READ MORE
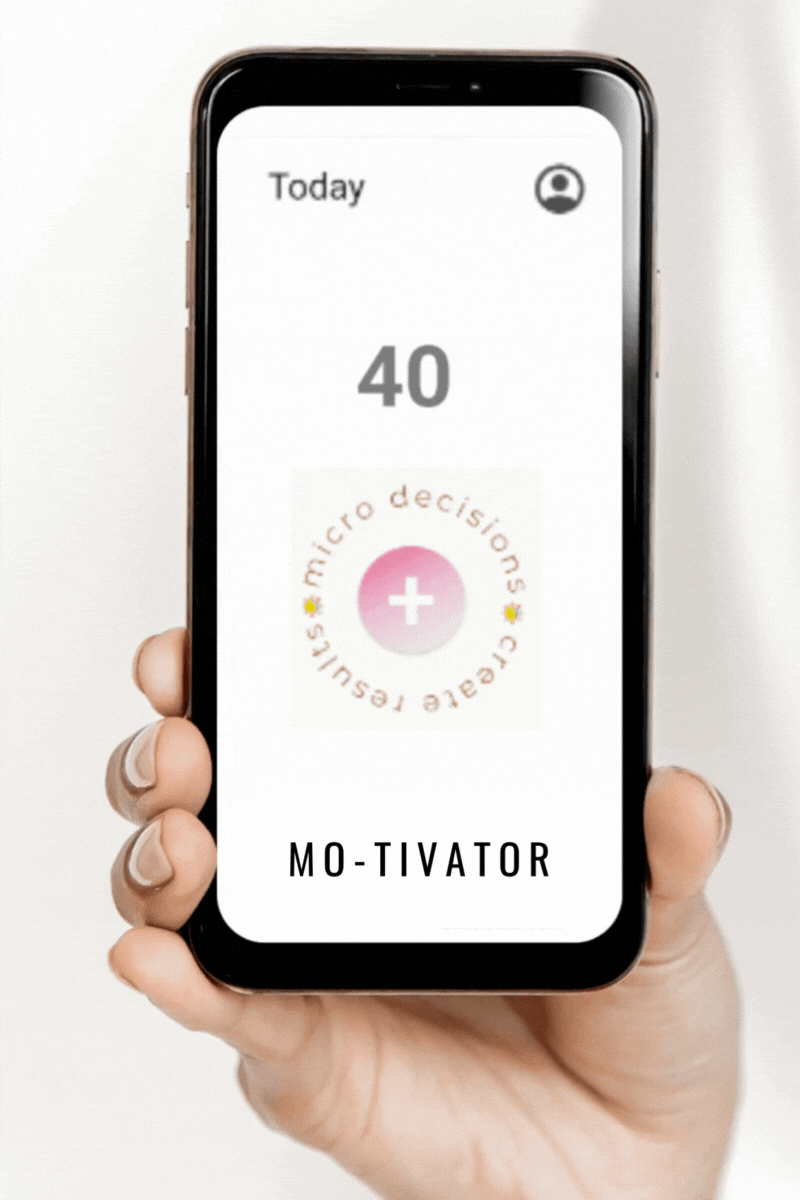
Then Be sure to Download your FREE MOTIVATOR APP
This way, you can keep an eye on how many Self Care Micro Decisions you are making over time. Simple Self Care Micro Decisions add up to B-I-G RESULTS!
Unlock Your Motivation!
Achieve Your Goals
1 Micro-Decision at a time
We respect your privacy. Unsubscribe at any time.